

 Send Email
 Whatsapp


how to choose between 4mm and 6mm solar cable
how to choose between 4mm and 6mm solar cable
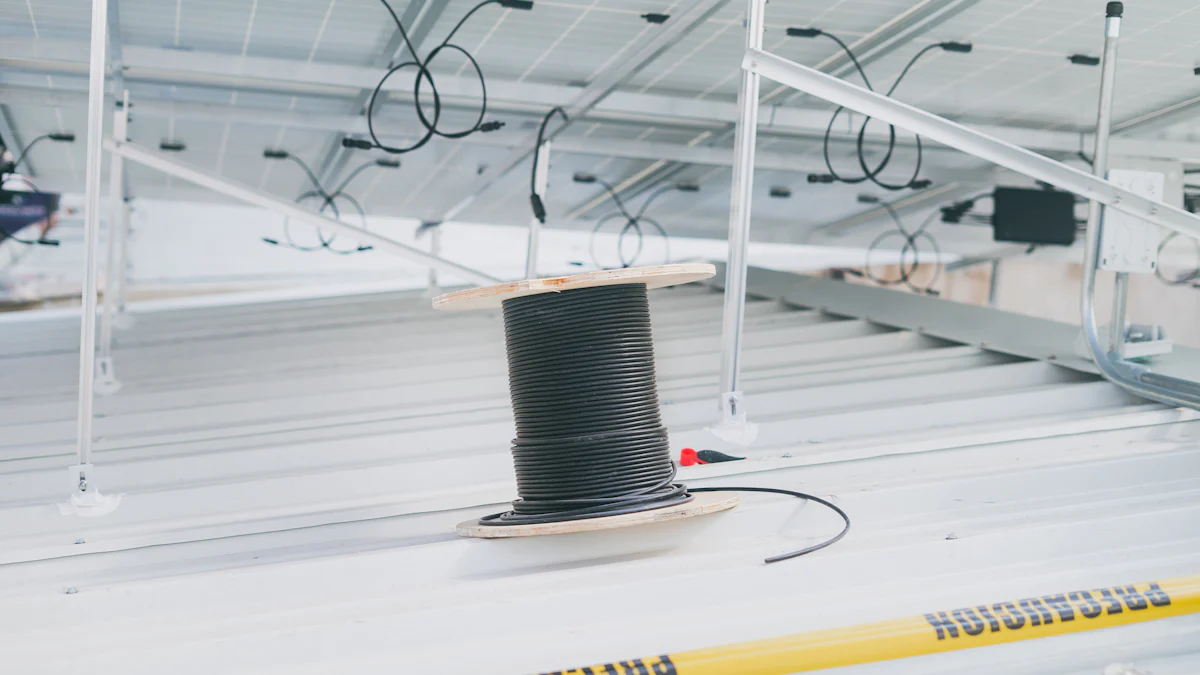
Choosing the right Solar Cable size can feel tricky, but it’s crucial for your system’s performance. The main difference between 4mm and 6mm cables lies in their current capacity and resistance. You’ll want to use 4mm for smaller setups and 6mm for higher power needs. The wrong choice could lead to energy loss or overheating.
Key Takeaways
- Choose 4mm cables for smaller solar setups and 6mm cables for larger systems to ensure optimal performance and prevent overheating.
- Consider the distance between your solar panels and inverter; longer distances require 6mm cables to minimize voltage drop and energy loss.
- Always check compatibility with your solar panels and inverters before installation, and ensure proper installation practices to enhance system efficiency.
Technical Specifications of 4mm and 6mm Solar Cables
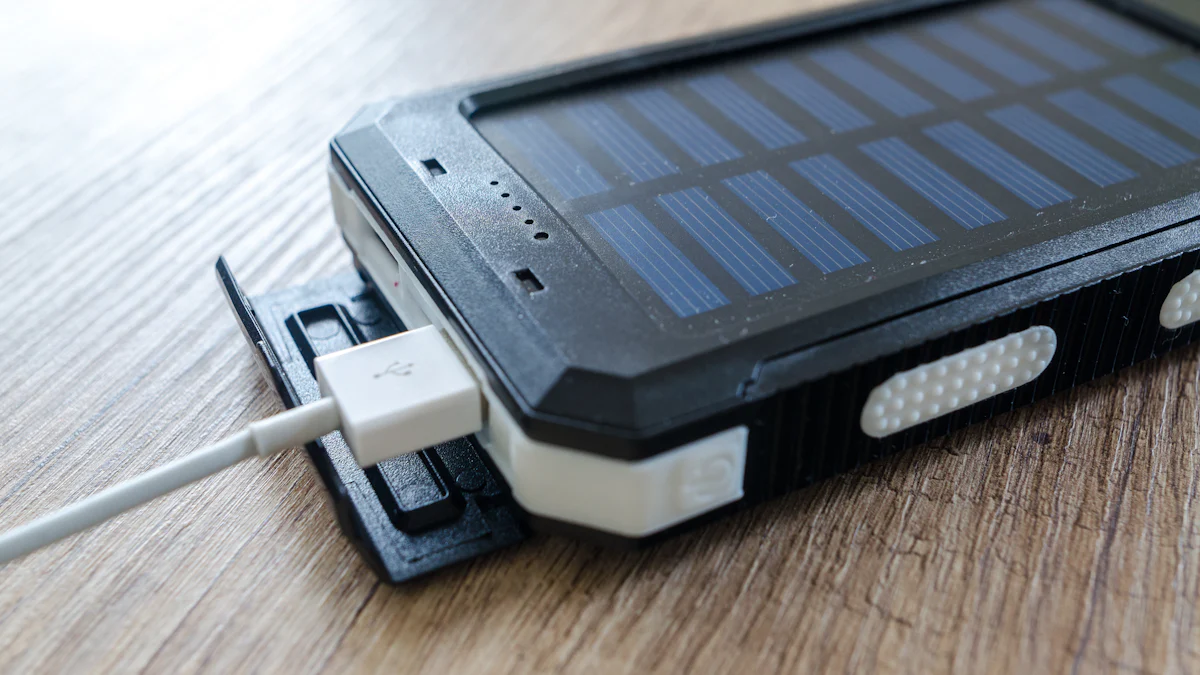
Current capacity and voltage ratings
When choosing between 4mm and 6mm Solar Cables, you need to consider theircurrent capacity and voltage ratings. A 4mm Solar Cable typically handles lower current levels, making it ideal for smaller systems or setups with fewer panels. On the other hand, a 6mm cable can carry more current, which is perfect for larger systems with higher energy demands.
Voltage ratings are another factor to keep in mind. Both 4mm and 6mm cables usually support similar voltage levels, often up to 1,000V or more. However, the thicker 6mm cable provides better safety margins for high-power systems. If your system generates a lot of electricity, the 6mm option ensures smoother energy flow without overheating.
Differences in voltage drop and resistance
Voltage drop happens when electricity travels through a cable, and it’s something you want to minimize. A 4mm solar cable has higher resistance compared to a 6mm one. This means it loses more energy as heat, especially over long distances.
If your solar panels are far from your inverter or battery, a 6mm cable is the better choice. Its lower resistance reduces voltage drop, ensuring more power reaches your devices. For shorter distances, though, a 4mm cable works just fine.
Temperature and environmental durability
Solar cables face tough conditions, like extreme heat, cold, and UV exposure. Both 4mm and 6mm cables are designed to handle these challenges, but the thicker 6mm cable offers slightly better durability. It’s less likely to degrade in harsh environments, making it a solid choice for outdoor installations in hot or sunny areas.
If your system operates in mild conditions, a 4mm cable will perform well. But for long-term reliability in extreme weather, the 6mm cable gives you extra peace of mind.
Practical Considerations for Choosing the Right Solar Cable
System size and power requirements
Your solar system’s size plays a big role in picking the right cable. Larger systems generate more electricity, which means they need cables that can handle higher currents. If you’re working with a small setup, like a few panels for a cabin or RV, a 4mm cable might be all you need. But for bigger installations, such as powering a home or business, a 6mm cable is the safer choice.
Think about your system’s power output. If it’s on the higher side, a thicker cable ensures smooth energy transfer without overheating. Always check your system’s specifications to match the cable size to its power needs.
Cable length and its effect on voltage drop
The distance between your solar panels and the inverter or battery matters more than you might think. Longer cables increase resistance, which leads to voltage drop. This means less power reaches your devices.
If your setup requires long cable runs, go for a 6mm cable. Its lower resistance minimizes energy loss. For shorter distances, a 4mm cable works just fine. To avoid surprises, calculate the voltage drop before making a decision.
Environmental factors like temperature and UV exposure
Where you install your solar system affects your cable choice. If your cables will face intense sunlight, high temperatures, or harsh weather, durability is key. A 6mm cable offers better resistance to UV rays and extreme conditions.
For mild climates or indoor setups, a 4mm cable can handle the job. But if you’re in a hot or sunny area, investing in a thicker cable ensures long-term reliability.
Installation Tips for Solar Cables
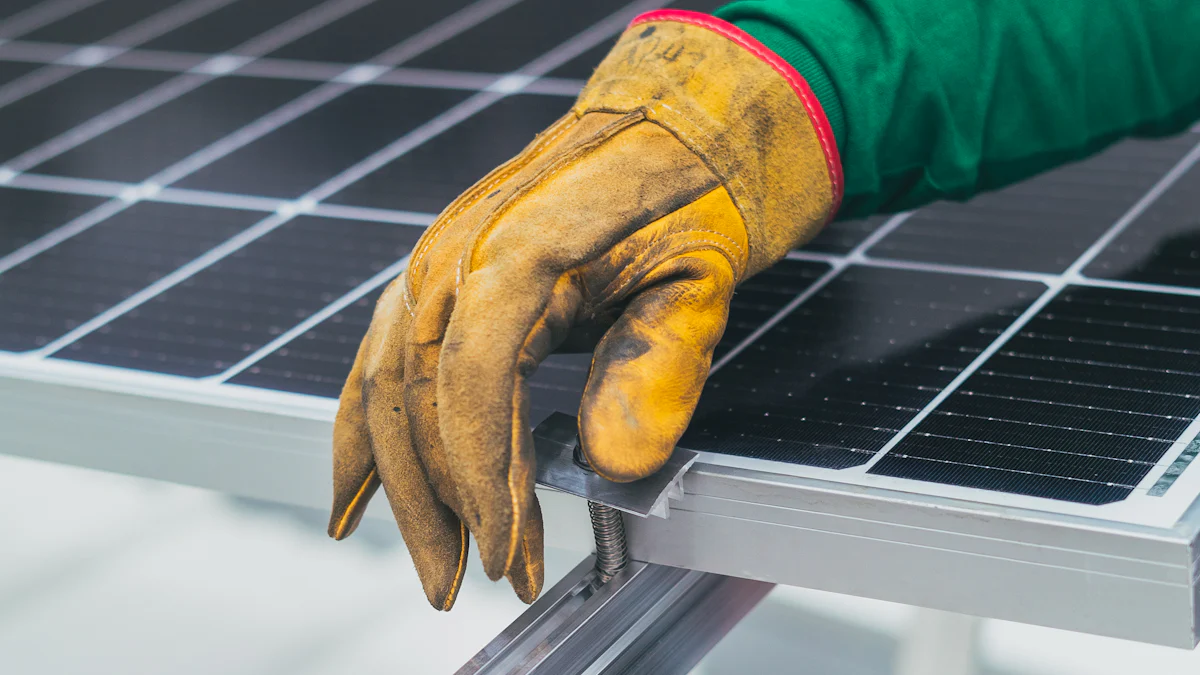
Ensuring compatibility with solar panels and inverters
Before installing your solar cables, check their compatibility with your solar panels and inverter. Not all cables work with every system. Look at the specifications of your equipment. Match the cable size to the current and voltage requirements of your setup.
You’ll also want to confirm the connectors fit properly. Most solar cables come with standard connectors, but it’s always good to double-check. A secure connection ensures efficient energy transfer and reduces the risk of power loss.
Tip: If you’re unsure about compatibility, consult your equipment manual or reach out to the manufacturer for guidance.
Best practices for cable installation
Proper installation makes a big difference in how well your system performs. Start by planning the cable layout. Keep the cables as short as possible to minimize voltage drop. Use cable ties or clips to secure them neatly and prevent tangling.
Avoid running cables near sharp edges or areas where they might get pinched. If you’re installing cables outdoors, use conduit or protective tubing to shield them from weather and physical damage.
Labeling your cables can also save you time during maintenance. It helps you identify connections quickly and avoid confusion later.
Avoiding common mistakes during installation
Some mistakes can hurt your system’s efficiency or even cause safety issues. One common error is using the wrong cable size. Always calculate the voltage drop and choose the right size for your setup.
Another mistake is leaving cables exposed to harsh conditions. UV rays, rain, or snow can damage unprotected cables over time. Make sure to use weather-resistant materials for outdoor installations.
Finally, don’t rush the process. Double-check all connections and test the system before turning it on. A little extra care during installation can save you from bigger problems down the road.
Choosing between 4mm and 6mm solar cables boils down to your system’s needs. The 4mm cable works for smaller setups, while the 6mm handles higher power and longer distances better.
Always consider your system size, cable length, and environment.
Tip: Calculate voltage drop, match cables to your setup, and consult a professional if needed.
FAQ
What happens if I use the wrong cable size?
Using the wrong size can cause overheating, energy loss, or even system failure. Always match the cable size to your system’s power and distance requirements.
Can I mix 4mm and 6mm cables in one system?
Yes, but it’s not ideal. Mixing cables can create uneven energy flow. Stick to one size for consistency and better performance.
How do I calculate voltage drop for my cables?
Use this formula:Voltage Drop = (Current x Cable Length x Resistance) ÷ 1000
Check your system specs for current and resistance values.
Tip: Online calculators can simplify this process!