

 Send Email
 Whatsapp


How to connect DC cables to solar panels and inverters
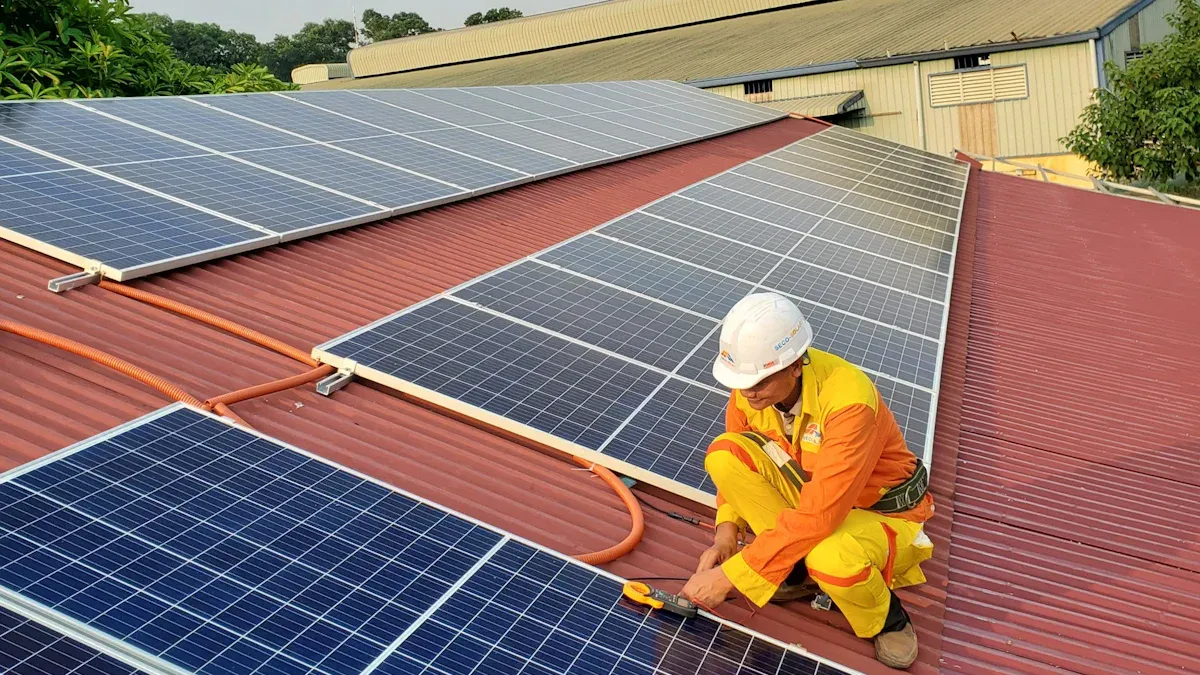
When you connect solar panels to inverters, you need to choose the right Solar Cable for the job. Always check your work and keep positive and negative wires in their correct places. Use the proper tools and stay safe during each step.
Tip: Wearing safety gear protects you from electric shocks.
Key Takeaways
- Choose the right solar cable size and type to match your system’s voltage, current, and distance for safe and efficient power transfer.
- Always check polarity with a multimeter and secure all connections tightly to prevent damage and ensure your system works properly.
- Wear safety gear and follow step-by-step instructions to protect yourself and build a reliable solar power setup.
What You Need: Solar Cable, Tools, and Safety Gear
Required Components and Solar Cable Types
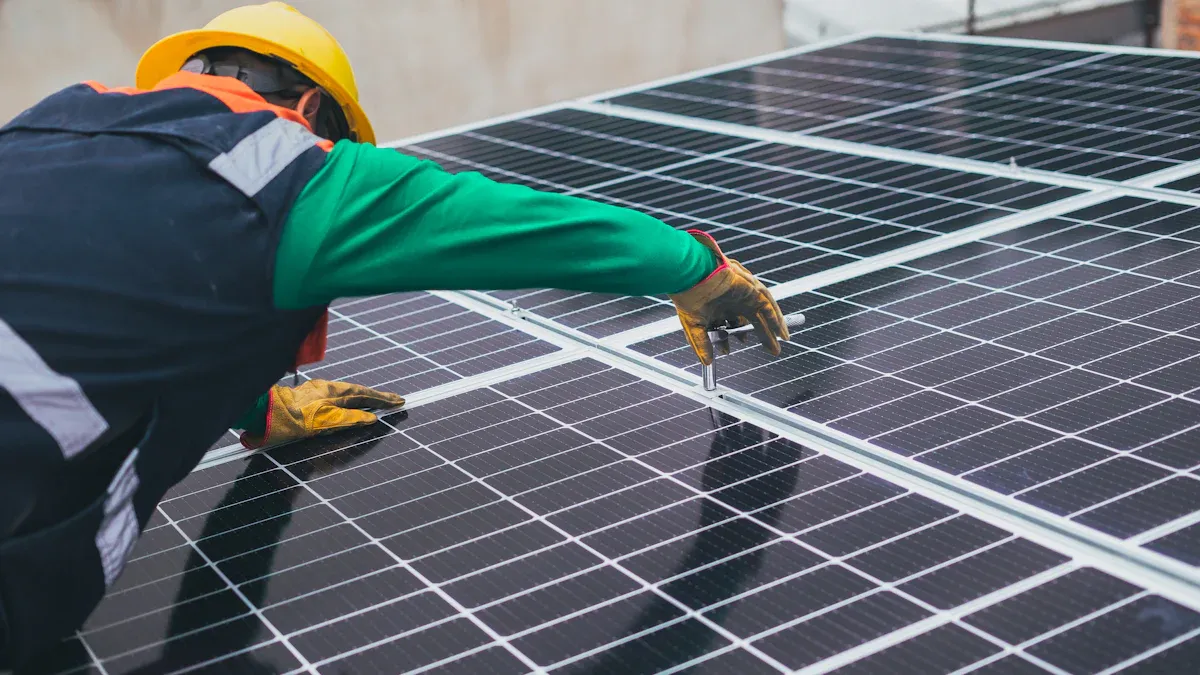
You need the right parts before you start your solar project. The main item is the solar cable. This cable carries electricity from your solar panels to the inverter. You should choose a solar cable that matches your system’s voltage and current. Most people use PV (photovoltaic) wire for outdoor use because it resists sunlight and weather. You also need MC4 connectors, which help you make safe and quick connections.
Here is a table of common Solar Cable Types:
| Cable Type | Use Case | Feature |
|---|---|---|
| PV Wire | Outdoor solar systems | UV and weatherproof |
| THHN | Indoor wiring | Flexible, not UV safe |
Essential Tools for Installation
You need a few basic tools to connect your solar system:
- Wire cutters and strippers help you cut and prepare the solar cable.
- MC4 crimping tool lets you attach connectors.
- A multimeter checks voltage and polarity.
- Screwdrivers and wrenches secure all parts.
Tip: Keep your tools organized to save time during installation.
Safety Gear and Precautions
Safety comes first. You should wear insulated gloves to protect your hands. Safety glasses keep your eyes safe from sparks or debris. Never work on live wires. Always turn off the power before you start. Check your work twice to avoid mistakes.
Step-by-Step Guide: Connecting Solar Cable to Panels and Inverters
Planning Your System Layout
Start by drawing a simple diagram of your solar power system. Place your solar panels, inverter, charge controller, and battery bank (if you use one) on the plan. Mark where you want to run each wire. This step helps you see the best path for your solar cable and keeps your setup neat. You avoid mistakes when you know where each part goes.
Tip: Keep your solar panels close to the inverter to reduce cable length and power loss.
Sizing and Selecting Solar Cable
Choose the right size solar cable for your system. The cable size depends on the current (amps) and the distance between your panels and inverter. Thicker cables carry more current and lose less power over long distances. Use a wire size chart to match your system’s needs. For most home systems, 10 AWG or 12 AWG PV wire works well. Always check your equipment manuals for the recommended cable size.
| System Amps | Distance (feet) | Recommended Cable Size |
|---|---|---|
| Up to 10A | 50 | 12 AWG |
| 11-20A | 50 | 10 AWG |
| 21-30A | 50 | 8 AWG |
Wiring Solar Panels in Series or Parallel
Decide if you want to wire your solar panels in series or parallel. In series, you connect the positive terminal of one panel to the negative terminal of the next. This setup increases voltage. In parallel, you connect all positive terminals together and all negative terminals together. This setup increases current. Use MC4 connectors to make these connections. Always follow your system design and check the voltage and current limits of your inverter.
Connecting to the Charge Controller
Connect the solar cable from your solar panel array to the charge controller. The charge controller protects your batteries from overcharging. Attach the positive cable to the positive input on the controller. Attach the negative cable to the negative input. Make sure the connections are tight and secure. Use a screwdriver to fasten the terminals if needed.
Wiring to the Battery Bank (if used)
If your system uses batteries, connect the charge controller to the battery bank. Use the correct size cable for this step. Attach the positive cable to the positive battery terminal and the negative cable to the negative terminal. Double-check the polarity before you connect. Batteries can be dangerous if you mix up the wires.
Connecting Solar Cable to the Inverter
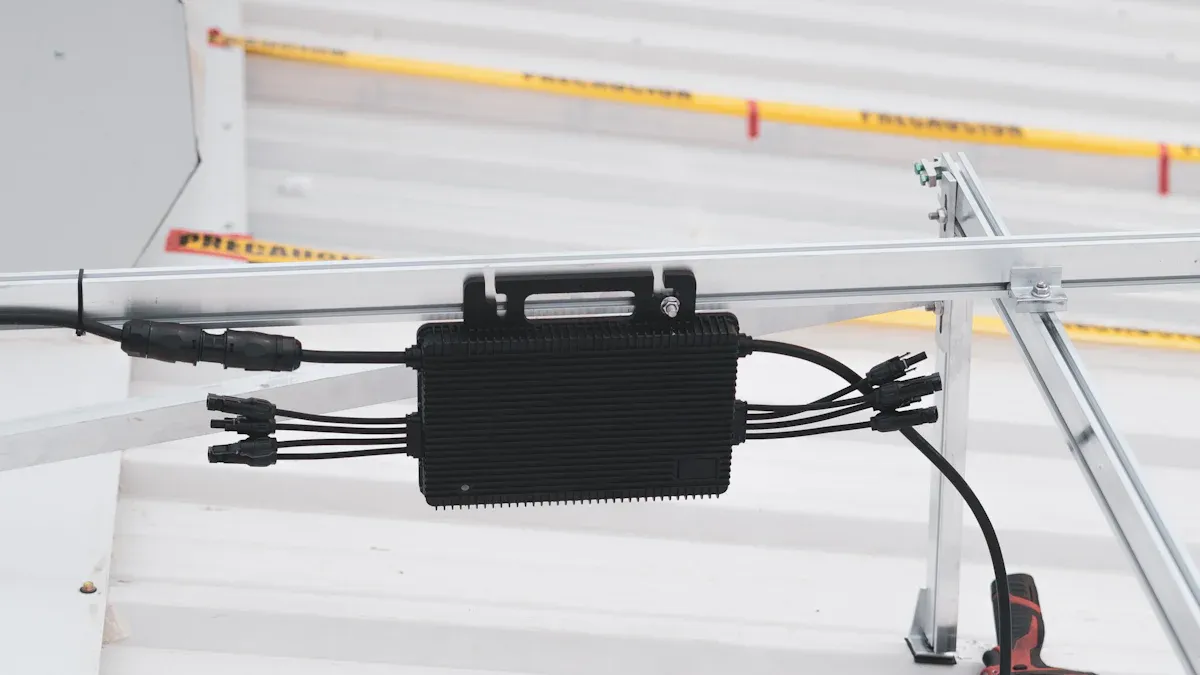
Now, connect the solar cable from the charge controller or battery bank to the inverter. The inverter changes DC power from your panels into AC power for your home. Attach the positive cable to the positive DC input on the inverter. Attach the negative cable to the negative DC input. Tighten all connections with a wrench or screwdriver.
Checking Polarity and Securing Connections
Check the polarity of every connection before you turn on the system. Use a multimeter to test the positive and negative wires. Make sure you do not reverse the cables. Secure all connections with cable ties or clips. This step keeps your wires safe and prevents them from moving or coming loose.
Note: Reversed polarity can damage your inverter or other equipment.
Installing Fuses and Surge Protection
Install fuses or circuit breakers on the positive side of your solar cable. Fuses protect your system from short circuits and overloads. Place a fuse close to the battery bank or inverter. Add surge protection devices to guard against lightning or power spikes. These safety parts help keep your system running smoothly.
Testing and Troubleshooting Connections
After you finish all wiring, test your system. Use a multimeter to check voltage at each point. Turn on the inverter and see if it works. If you find a problem, check each connection again. Look for loose wires or wrong polarity. Fix any issues before you use the system every day.
Always test your system in daylight when the panels produce power.
You improve safety and performance when you size and connect wires correctly. Always check polarity before turning on your system. Secure every connection tightly. Wear safety gear each time you work. Read product manuals and follow local codes. These steps help you build a reliable solar power setup.
FAQ
How do you know which cable size to use for your solar panels?
You should check your system’s current and distance. Use a wire size chart. Always follow your equipment manual for the best results.
Can you connect solar panels to an inverter without a charge controller?
You should not do this. The charge controller protects your batteries and system. Always use a charge controller if you have batteries.
What happens if you reverse the polarity of your DC cables?
- Your inverter or other equipment can get damaged.
- Always check polarity with a multimeter before turning on your system.