

 Send Email
 Whatsapp


how to connect solar cable
how to connect solar cable
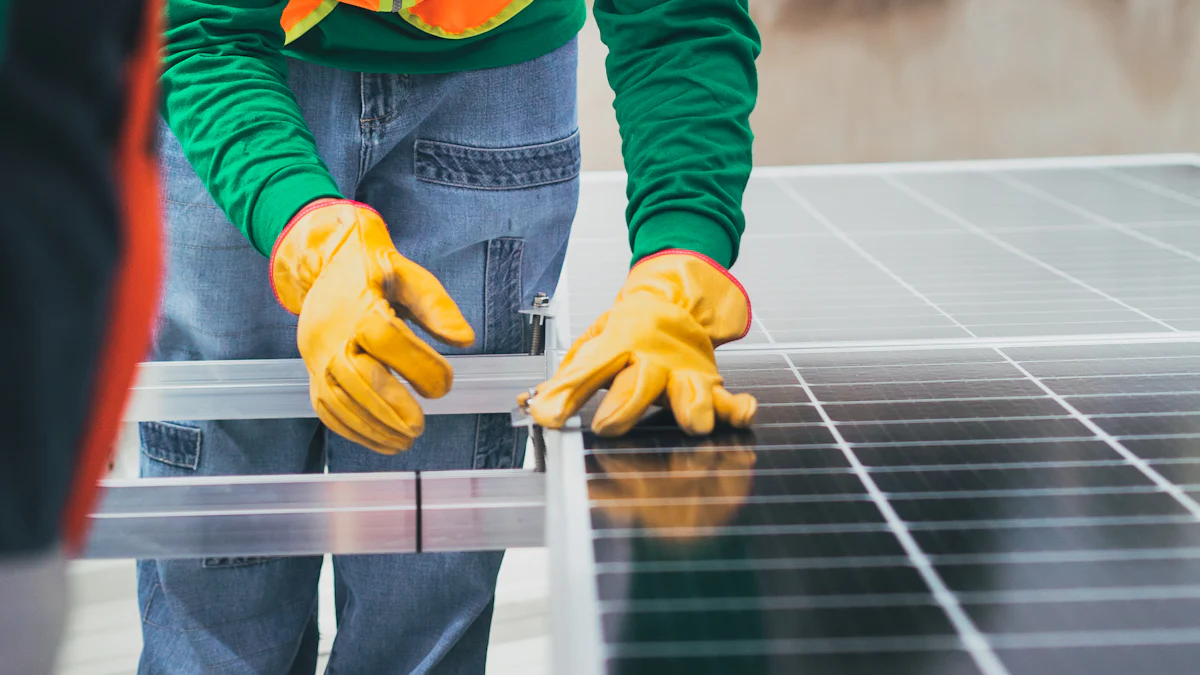
Connecting Solar Cables is a crucial step in setting up your solar energy system. Proper connections ensure that your system operates efficiently and safely. You need to pay attention to every detail, from selecting the right tools to following the correct procedures. A well-connected solar cable not only maximizes energy output but also prevents potential hazards. By understanding the importance of each connection, you can optimize your solar setup for long-term performance and reliability.
Key Takeaways
- Gather essential tools like wire strippers, crimping tools, and a multimeter to ensure secure and efficient solar cable connections.
- Prioritize safety by wearing protective gear and confirming that the power is off before starting any work on solar cables.
- Follow a step-by-step guide for connecting solar cables, including measuring, cutting, stripping insulation, and securely attaching connectors.
- Regularly test your connections with a multimeter to verify voltage and current, ensuring your solar energy system operates efficiently.
- Understand the difference between series and parallel connections to optimize your solar setup based on your energy needs.
- Inspect cables for damage and replace any compromised components immediately to maintain system integrity and safety.
- Organize your cables with ties to prevent tangling and simplify maintenance, enhancing the overall reliability of your solar energy system.
Tools and Materials for Connecting Solar Cables
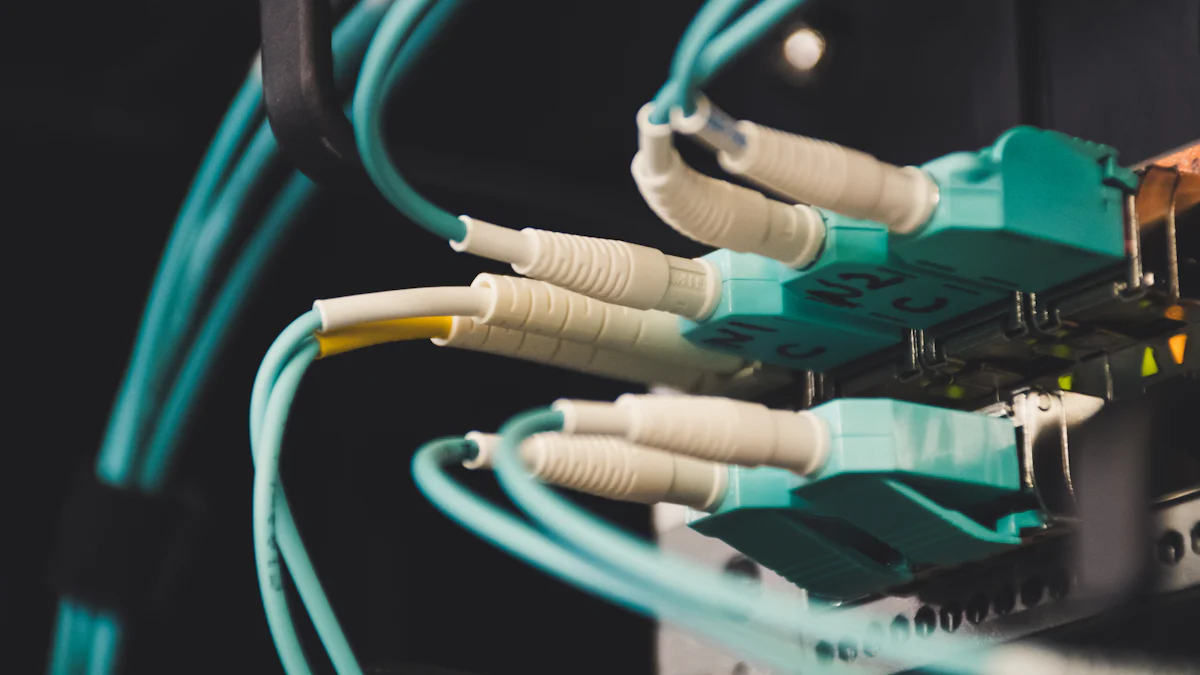
To connect solar cables effectively, you need the right tools and materials. These items ensure that your connections are secure and efficient, which is crucial for the optimal performance of your solar energy system.
Essential Tools
-
Wire Strippers
You will use wire strippers to remove the insulation from the ends of the solar cable. This tool allows you to expose the wire without damaging it, ensuring a clean and precise cut. Proper stripping is vital for making solid connections. -
Crimping Tool
A crimping tool helps you attach connectors to the solar cable securely. By using this tool, you can ensure that the connectors are tightly fastened, preventing any loose connections that could lead to energy loss or safety hazards. -
Multimeter
The multimeter is an essential tool for testing the connections. It measures voltage, current, and resistance, allowing you to verify that your solar cable connections are functioning correctly. Regular testing with a multimeter helps maintain the efficiency and safety of your solar setup.
Necessary Materials
-
Solar Cables
Solar cables are the backbone of your solar energy system. They carry the electricity generated by your solar panels to the inverter and other components. Choosing high-quality solar cables ensures durability and efficiency in energy transmission. -
MC4 Connectors
MC4 connectors are designed for easy and secure connections between solar panels and other components. These connectors are weatherproof and provide a reliable connection, which is essential for maintaining the integrity of your solar cable system. -
Cable Ties
You will use cable ties to organize and secure the solar cables. By keeping the cables neatly arranged, you can prevent tangling and reduce the risk of damage. Proper organization also makes maintenance and troubleshooting easier.
By equipping yourself with these tools and materials, you can confidently connect solar cables and ensure your solar energy system operates at its best.
Safety Precautions for Solar Cable Connections
When working with solar cables, prioritizing safety is crucial. By following these precautions, you can protect yourself and your equipment from potential hazards.
Personal Safety
-
Wear Protective Gear
Always wear appropriate protective gear when handling solar cables. This includes gloves and safety goggles. Gloves protect your hands from cuts and abrasions, while goggles shield your eyes from debris and sparks. Proper gear minimizes the risk of injury during installation. -
Ensure Power is Off
Before you start connecting solar cables, make sure the power is off. This step is vital to prevent electric shock. Double-check that all switches are in the off position. Use a multimeter to confirm there is no live current. Taking this precaution ensures a safe working environment.
Equipment Safety
-
Check for Damaged Cables
Inspect all solar cables for any signs of damage before use. Look for cuts, frays, or exposed wires. Damaged cables can lead to short circuits or fires. Replace any compromised cables immediately to maintain system integrity and safety. -
Use Proper Insulation
Ensure that all connections are properly insulated. Use high-quality insulation materials to cover exposed wires. Proper insulation prevents electrical leaks and protects against moisture and dust. This step is essential for maintaining the efficiency and safety of your solar cable connections.
By adhering to these safety precautions, you can ensure a secure and efficient solar cable installation. These measures protect both you and your equipment, contributing to a reliable solar energy system.
Step-by-Step Guide to Connecting Solar Cables
Preparing the Solar Cables
Measure and Cut to Length
Start by measuring the distance between your solar panels and the inverter. Use a tape measure for accuracy. Cut the solar cable to the required length using a cable cutter. Ensure the cable is long enough to reach the components without tension but not so long that it creates unnecessary slack.
Strip the Insulation
After cutting the cable, strip the insulation from the ends. Use wire strippers for this task. Carefully remove about half an inch of insulation to expose the copper wire. Avoid damaging the wire strands during this process, as this can affect the connection quality.
Connecting the Solar Cables
Attach MC4 Connectors
Once the wires are stripped, attach MC4 connectors to the ends. Insert the exposed wire into the connector. Use a crimping tool to secure the connection. Ensure the wire is firmly attached to prevent any loose connections. Properly attached connectors are crucial for maintaining the integrity of the solar cable system.
Secure Connections
After attaching the connectors, secure all connections. Use cable ties to organize the cables neatly. This prevents tangling and reduces the risk of damage. A well-organized setup also simplifies maintenance and troubleshooting.
Testing the Solar Cable Connection
Use a Multimeter
Test the connections using a multimeter. Set the multimeter to measure voltage and current. This tool helps verify that the solar cable connections are functioning correctly. Regular testing ensures the system operates efficiently.
Verify Voltage and Current
Check the voltage and current readings on the multimeter. Compare these readings with the expected values for your solar setup. Correct readings indicate a successful connection. If the readings are off, recheck the connections and make necessary adjustments.
By following these steps, you can connect solar cables effectively. Proper preparation, connection, and testing ensure your solar energy system operates at its best.
Understanding Series vs Parallel Solar Cable Connections
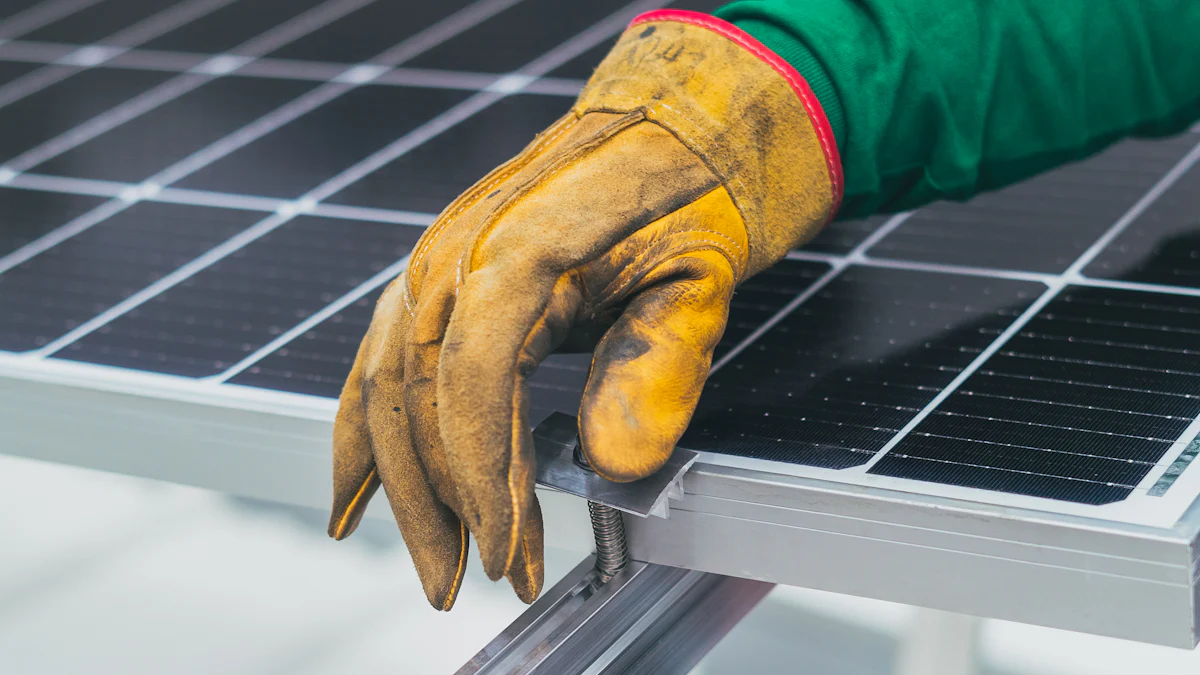
When connecting solar panels, you have two main options: series and parallel connections. Each method affects the electrical output differently, so understanding these differences helps you optimize your solar energy system.
Series Connection
Increases Voltage
In a series connection, you connect the positive terminal of one solar panel to the negative terminal of the next. This setup increases the total voltage while keeping the current the same as a single panel. For example, if each panel produces 20 volts, connecting three panels in series results in a total of 60 volts. This method is beneficial when you need higher voltage to match the input requirements of your inverter.
How to Connect in Series
To connect solar panels in series, follow these steps:
- Identify the positive and negative terminals on each solar panel.
- Connect the positive terminal of the first panel to the negative terminal of the second panel.
- Continue this pattern for additional panels.
- Use MC4 connectors to ensure secure and weatherproof connections.
This configuration is ideal for systems where voltage needs to be increased without altering the current.
Parallel Connection
Increases Current
Parallel connections work differently. You connect all the positive terminals together and all the negative terminals together. This setup increases the total current while maintaining the voltage of a single panel. For instance, if each panel generates 5 amps, connecting three panels in parallel results in a total of 15 amps. This method is useful when you need more current to power larger loads.
How to Connect in Parallel
To connect solar panels in parallel, follow these steps:
- Locate the positive and negative terminals on each solar panel.
- Connect all positive terminals together using a multibranch connector.
- Connect all negative terminals together in the same manner.
- Ensure all connections are tight and secure with MC4 connectors.
Parallel connections are suitable for systems that require higher current output without increasing voltage.
Understanding the differences between series and parallel connections allows you to tailor your solar cable setup to meet specific energy needs. By choosing the right configuration, you can enhance the efficiency and performance of your solar energy system.
Troubleshooting Common Solar Cable Connection Issues
When working with solar cables, you might encounter some common connection issues. Identifying and resolving these problems ensures your solar energy system functions efficiently.
Identifying Connection Problems
Loose Connections
Loose connections can cause significant issues in your solar setup. You might notice a drop in energy output or intermittent power supply. To identify loose connections, inspect each connection point. Look for any signs of movement or instability. A secure connection should feel firm and stable.
Faulty Connectors
Faulty connectors often lead to poor performance in your solar cable system. You may experience inconsistent energy flow or complete disconnection. Examine the connectors for any visible damage or wear. Check for cracks, corrosion, or misalignment. Faulty connectors can disrupt the entire system's efficiency.
Solutions and Fixes
Re-crimping Connectors
Re-crimping connectors can resolve many connection issues. Start by removing the faulty connector. Use a crimping tool to attach a new connector securely. Ensure the wire is properly inserted and the crimp is tight. This process restores a reliable connection and improves energy transmission.
Replacing Damaged Cables
Damaged cables can compromise your solar energy system's performance. If you find any cuts, frays, or exposed wires, replace the cable immediately. Measure and cut a new cable to the required length. Strip the insulation and attach new connectors. By replacing damaged cables, you maintain the integrity and safety of your solar setup.
By addressing these common issues, you can ensure your solar cable connections remain efficient and reliable. Regular maintenance and inspection help prevent future problems and extend the lifespan of your solar energy system.
Connecting solar cables requires careful attention to detail. You must follow key steps and safety measures to ensure a successful installation. Start by gathering the right tools and materials. Prioritize safety by wearing protective gear and ensuring the power is off. Follow the step-by-step guide to connect and test the cables. By adhering to these guidelines, you optimize your solar energy system's performance. For further learning, explore additional resources on solar installations and maintenance. This knowledge will enhance your ability to manage and troubleshoot your solar setup effectively.
FAQ
What are the most common tools needed for connecting solar cables?
You will need a few essential tools to connect solar cables effectively. These include wire strippers, a crimping tool, and a multimeter. Wire strippers help you remove insulation from the cables. A crimping tool secures connectors to the cables. The multimeter tests the connections to ensure they work correctly.
Why is it important to use MC4 connectors?
MC4 connectors provide secure and weatherproof connections between solar panels and other components. They ensure that your solar cable system remains intact and functions efficiently. Using MC4 connectors helps prevent energy loss and protects against environmental factors.
How do I ensure my solar cable connections are safe?
To ensure safety, always wear protective gear like gloves and goggles. Make sure the power is off before starting any work. Inspect cables for damage and use proper insulation. These steps protect you and your equipment from potential hazards.
What should I do if I find damaged solar cables?
Replace damaged cables immediately. Measure and cut a new cable to the required length. Strip the insulation and attach new connectors. Replacing damaged cables maintains the integrity and safety of your solar setup.
How can I test my solar cable connections?
Use a multimeter to test your connections. Set it to measure voltage and current. Verify that the readings match the expected values for your solar setup. Correct readings indicate successful connections.
What is the difference between series and parallel connections?
Series connections increase voltage by connecting the positive terminal of one panel to the negative terminal of the next. Parallel connections increase current by connecting all positive terminals together and all negative terminals together. Each method affects the electrical output differently.
How do I troubleshoot loose connections?
Inspect each connection point for movement or instability. A secure connection should feel firm. If you find a loose connection, re-crimp the connector to ensure a tight fit. This process restores a reliable connection.
Can I connect different types of solar panels together?
You can connect different types of solar panels, but you must consider their voltage and current ratings. Ensure that the panels are compatible to avoid performance issues. Consult the manufacturer's guidelines for specific recommendations.
What gauge of wire should I use for solar cables?
Typically, you should use 10 AWG or larger wire for the main connections. This gauge handles the current safely and efficiently. Choosing the correct wire gauge prevents overheating and energy loss.
Where can I find more resources on solar installations?
Explore online resources, books, and courses on solar installations and maintenance. Many websites offer guides and tutorials. These resources enhance your knowledge and help you manage your solar setup effectively.