

 Send Email
 Whatsapp


how to determine the appropriate size of solar cable based on watts of power
how to determine the appropriate size of solar cable based on watts of power

Choosing the right Solar Cable is essential for ensuring your solar system operates safely and efficiently. Incorrect cable sizing can lead to overheating, energy loss, or even system failure. To determine the correct size, you need to calculate the current using the formula: Amps = Watts ÷ Voltage. Cable length also plays a critical role. Longer cables increase resistance, causing voltage drop, which reduces system performance. By understanding these factors, you can select a cable that meets safety standards and optimizes energy transfer.
Key Takeaways
- Calculate the total amperage of your solar system using the formula: Amps = Watts ÷ Voltage to ensure your cable can handle the load safely.
- Consider cable length when selecting your solar cable; longer cables increase resistance and can lead to voltage drop, reducing system efficiency.
- Use American Wire Gauge (AWG) standards to determine the appropriate cable size; thicker cables (smaller AWG numbers) can handle higher currents and minimize voltage drop.
- Keep voltage drop within 2-3% for optimal performance; if it exceeds this limit, opt for a thicker cable to maintain efficiency.
- Plan for future expansion by choosing a cable size that accommodates potential upgrades, ensuring your system can handle increased loads without overheating.
- Always verify your cable choice against safety and efficiency standards, including checking ampacity and local electrical codes to ensure compliance.
- Utilize wire size calculators or AWG charts to simplify the selection process and avoid guesswork in determining the right cable size.
Key Factors in Determining Solar Cable Size
Relationship Between Watts, Voltage, and Amperage
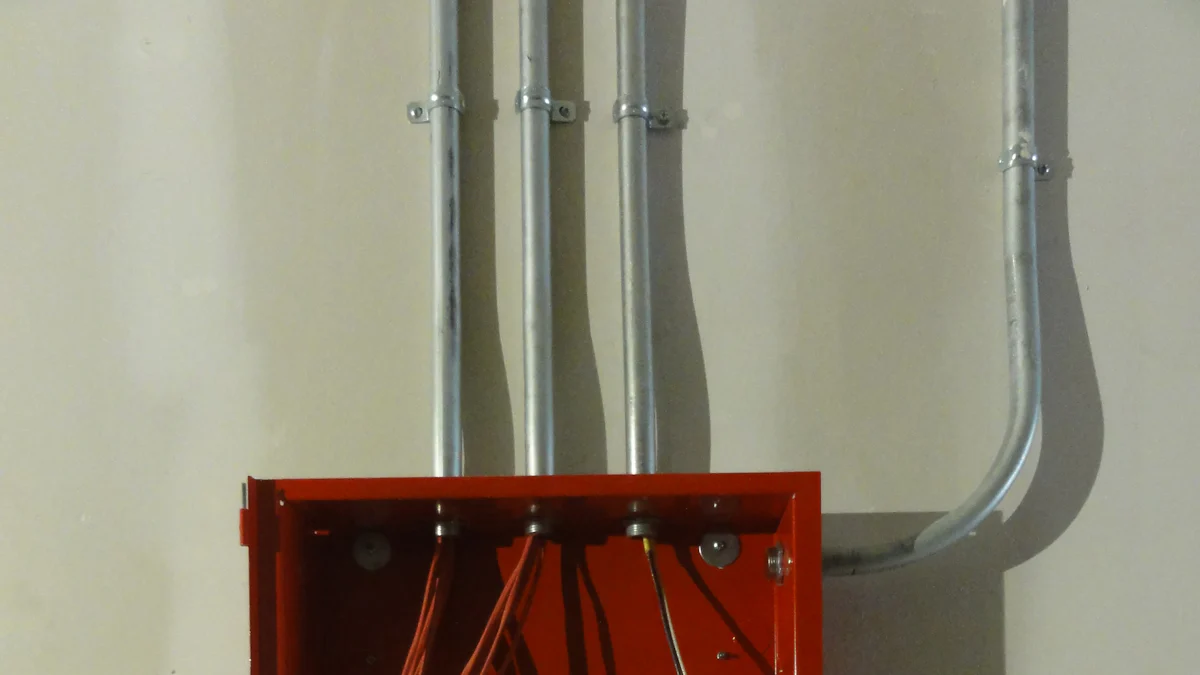
Understanding the connection between watts, voltage, and amperage is crucial when selecting the right solar cable. Watts measure the total power your solar system generates. Voltage refers to the electrical potential of your system, while amperage indicates the current flowing through the cable. To calculate the current, divide the total watts by the system voltage. For example, a 200-watt solar panel operating at 12 volts produces approximately 16.7 amps (200 ÷ 12 = 16.7). This calculation helps you determine the minimum current your cable must handle safely.
Higher voltage systems typically require less current for the same power output. This allows you to use smaller cables, which can save costs. However, always ensure the cable size matches the amperage to prevent overheating or energy loss. By understanding this relationship, you can make informed decisions about your solar cable needs.
Impact of Cable Length and Voltage Drop
Cable length significantly affects the performance of your solar system. Longer cables increase resistance, which leads to voltage drop. Voltage drop reduces the efficiency of your system by lowering the amount of power delivered to your devices. To minimize this, you need to choose a cable size that compensates for the voltage drop over the cable's length.
You can estimate voltage drop using this formula: Voltage Drop = (Amperage × Cable Length × Resistance per Unit Length) ÷ 1000. For instance, if your system operates at 10 amps over a 50-foot cable, and the resistance is 0.1 ohms per foot, the voltage drop would be 0.5 volts. Keeping the voltage drop below 2-3% ensures optimal system performance. Selecting a thicker cable reduces resistance and helps maintain efficiency, especially for longer runs.
Importance of American Wire Gauge (AWG) Standards
American Wire Gauge (AWG) standards provide a reliable way to determine the appropriate size of a solar cable. AWG measures the thickness of the cable, with smaller numbers indicating thicker wires. Thicker cables can handle higher currents and reduce voltage drop, making them ideal for larger systems or longer cable runs.
For example, a 14 AWG cable is suitable for systems with lower amperage, such as a 100-watt solar panel. In contrast, a 10 AWG cable works better for systems producing higher currents, like a 300-watt panel. Always refer to an AWG chart or wire size calculator to match the cable size to your system's requirements. Following AWG standards ensures your solar system operates safely and efficiently.
Step-by-Step Guide to Choosing the Right Solar Cable
Step 1: Calculate the Total Amperage of Your Solar System
Start by determining the total amperage your solar system generates. Use the formula: Amps = Watts ÷ Voltage. This calculation helps you understand the current flowing through your solar cable. For example, if your solar panel produces 300 watts and operates at 12 volts, the current will be 25 amps (300 ÷ 12 = 25). Knowing this value ensures you select a cable that can handle the load safely.
Always include the amperage of all components in your system. If you have multiple panels connected in parallel, add their individual currents together. This step is critical because underestimating the amperage can lead to overheating or damage to your system.
Step 2: Determine Cable Length and Allowable Voltage Drop
Measure the distance between your solar panels and the charge controller or inverter. Longer cables increase resistance, which causes voltage drop. Voltage drop reduces the efficiency of your system. To maintain optimal performance, keep the voltage drop within 2-3%.
Use the formula: Voltage Drop = (Amperage × Cable Length × Resistance per Unit Length) ÷ 1000. For instance, if your system operates at 20 amps over a 50-foot cable with a resistance of 0.1 ohms per foot, the voltage drop will be 1 volt. If this exceeds the allowable limit, choose a thicker cable to reduce resistance. Properly accounting for cable length and voltage drop ensures your system delivers power efficiently.
Step 3: Use a Wire Size Calculator or AWG Chart
Once you know the amperage and cable length, use a wire size calculator or an AWG chart to find the appropriate cable size. These tools simplify the process by considering factors like current, voltage, and distance. For example, a 10 AWG cable may suit a system with 20 amps over a short distance, while a 6 AWG cable might be necessary for longer runs.
Refer to the AWG standards to ensure your choice meets safety requirements. Thicker cables, indicated by smaller AWG numbers, handle higher currents and reduce voltage drop. Using these resources helps you select the right solar cable for your system without guesswork.
Step 4: Verify Your Choice for Safety and Efficiency
After selecting a cable size, you must verify that your choice meets safety and efficiency standards. This step ensures your solar system operates reliably without risks of overheating or energy loss. Begin by checking the cable's ampacity, which is its ability to handle the current safely. Compare the ampacity of your chosen cable with the total amperage of your system. The cable must exceed or match the system's amperage to prevent overheating.
Next, confirm that the voltage drop remains within acceptable limits. Use the voltage drop formula again to double-check your calculations. If the drop exceeds 2-3%, consider upgrading to a thicker cable. This adjustment minimizes energy loss and maintains the performance of your solar system.
Inspect the cable's insulation and temperature rating. Ensure the cable can withstand the environmental conditions where it will be installed. For outdoor setups, choose cables with UV-resistant insulation to protect against sunlight exposure. Verify that the temperature rating matches the highest temperatures your location may experience.
Finally, review local electrical codes and standards. These regulations often specify minimum requirements for solar cable sizing and installation. Following these guidelines ensures compliance and enhances the safety of your system. If you feel uncertain, consult a professional to validate your choice. Taking these precautions guarantees that your solar cable supports your system's efficiency and longevity.
Practical Examples of Solar Cable Sizing
Example 1: Small Off-Grid Solar System (100W Panel, 12V Battery)
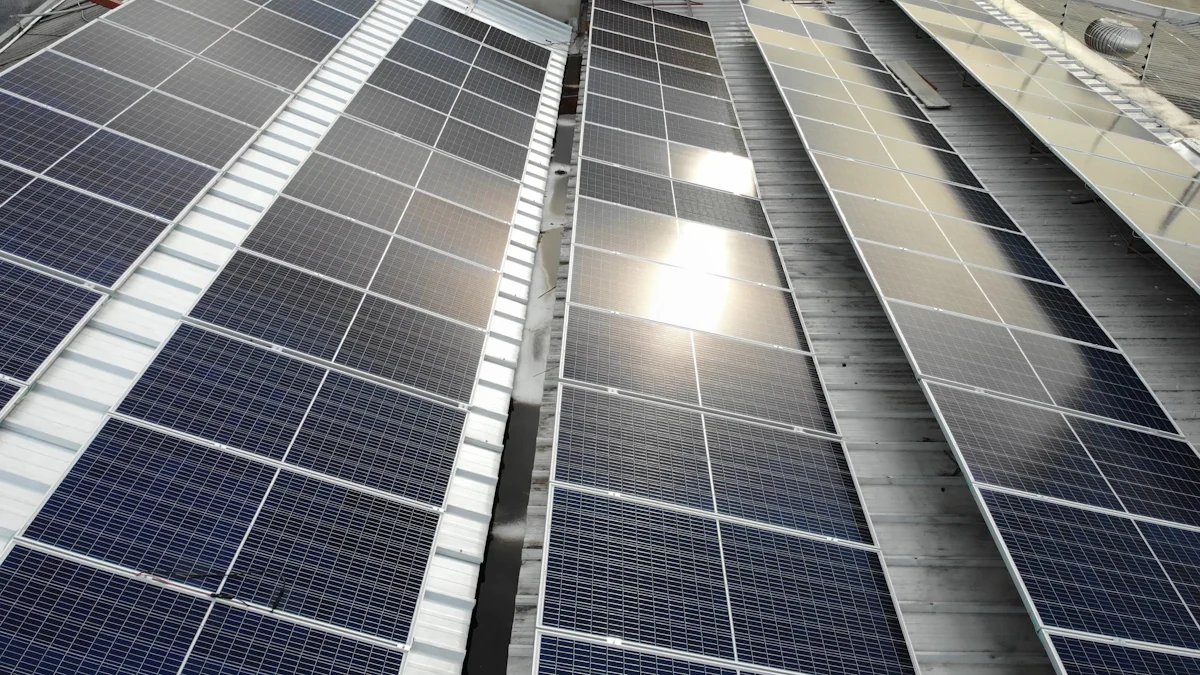
Imagine you have a small off-grid solar system with a 100-watt solar panel connected to a 12-volt battery. To determine the appropriate solar cable size, start by calculating the current. Divide the panel's wattage by the system voltage:
100 watts ÷ 12 volts = 8.33 amps.
Next, measure the distance between the solar panel and the charge controller. For this example, assume the distance is 20 feet. Since the current flows to and from the panel, double the distance to account for the total cable length, which becomes 40 feet.
Now, consider the allowable voltage drop. A 2% voltage drop is ideal for maintaining efficiency. Use a wire size calculator or an AWG chart to find the correct cable size. For 8.33 amps over 40 feet with a 2% voltage drop, a 14 AWG cable is sufficient. This cable size ensures safe operation and minimizes energy loss in your system.
Example 2: Larger Residential Solar System (5kW Array, 48V Inverter)
For a larger residential solar system with a 5-kilowatt (5,000-watt) solar array and a 48-volt inverter, the process is similar but involves higher currents and longer distances. First, calculate the current:
5,000 watts ÷ 48 volts = 104.17 amps.
Assume the distance between the solar array and the inverter is 50 feet. Double this distance to account for the round trip, resulting in a total cable length of 100 feet. With a 2% allowable voltage drop, you need a thicker cable to handle the higher current and longer distance.
Using a wire size calculator or AWG chart, you’ll find that a 2 AWG cable is appropriate for this setup. This cable size can safely carry 104.17 amps over 100 feet while keeping the voltage drop within acceptable limits. It also ensures your system operates efficiently and complies with safety standards.
Common Mistakes to Avoid When Sizing Solar Cables
Neglecting Voltage Drop in Long Cable Runs
Ignoring voltage drop can lead to significant energy loss in your solar system. When cables are too long, resistance increases, causing a drop in voltage. This reduces the efficiency of your system and may prevent devices from receiving enough power. You must calculate the voltage drop for every cable run, especially for longer distances. Use the formula:
Voltage Drop = (Amperage × Cable Length × Resistance per Unit Length) ÷ 1000.
If the voltage drop exceeds 2-3%, choose a thicker cable to minimize resistance. Always account for the total length of the cable, including the return path. By addressing voltage drop, you ensure your solar system operates efficiently and delivers consistent power.
Miscalculating Amperage or Using Incorrect Formulas
Incorrect amperage calculations often result in choosing the wrong cable size. This mistake can cause overheating, energy loss, or even damage to your system. To avoid this, use the correct formula:
Amps = Watts ÷ Voltage.
Double-check your calculations and include all components in your system. For systems with multiple solar panels connected in parallel, add the amperage of each panel. Using a wire size calculator or an AWG chart can also help verify your results. Accurate calculations ensure you select a cable that can handle the current safely.
Choosing a Cable Size Without Considering Future Expansion
Planning for future expansion is essential when sizing solar cables. If you add more solar panels or increase the system's capacity later, the existing cables may not handle the additional load. This oversight can lead to overheating or system failure. Choose a cable size that accommodates potential upgrades. For example, if your current system generates 20 amps, select a cable that can handle 25-30 amps. This approach saves you from replacing cables later and ensures your system remains safe and efficient as it grows.
Ignoring Local Electrical Codes and Standards
Overlooking local electrical codes and standards can jeopardize the safety and legality of your solar installation. These regulations exist to ensure that your system operates safely and complies with established guidelines. Ignoring them may lead to fines, system failures, or even hazardous conditions.
Local codes often specify the minimum cable size, insulation type, and installation practices required for solar systems. For example, some regions mandate the use of UV-resistant cables for outdoor installations or require specific grounding methods. You must familiarize yourself with these rules before selecting and installing solar cables.
To avoid mistakes, consult your local building authority or an experienced electrician. They can provide guidance on the codes applicable in your area. Additionally, review the National Electrical Code (NEC) if you live in the United States. The NEC outlines comprehensive standards for solar installations, including cable sizing and safety requirements.
Compliance with these standards not only ensures safety but also protects your investment. Many insurance companies and warranty providers require adherence to local codes. Failing to meet these requirements could void your coverage or warranty. By following the rules, you safeguard your system and avoid unnecessary complications.
Take the time to research and understand the electrical codes in your region. This step ensures your solar system operates efficiently, remains safe, and meets all legal requirements.
Proper solar cable sizing is essential for ensuring safety, efficiency, and optimal system performance. By following key steps, you can make informed decisions for your solar setup. Start by calculating the total amperage of your system. Consider the impact of voltage drop over cable length. Use AWG standards to select the correct cable size. Always double-check your calculations to avoid errors. If you feel uncertain, consult a professional to validate your choices. Taking these steps ensures your solar system operates reliably and delivers consistent power.
FAQ
What happens if I choose the wrong solar cable size?
Using the wrong cable size can lead to several issues. A cable that is too small may overheat, causing a fire hazard or damaging your system. It can also result in significant energy loss due to increased resistance. On the other hand, an oversized cable may work safely but could unnecessarily increase costs. Always calculate the correct size to ensure safety and efficiency.
How do I calculate the amperage of my solar system?
You can calculate the amperage by dividing the total watts of your solar system by its voltage. Use the formula:
Amps = Watts ÷ Voltage
For example, if your system generates 500 watts and operates at 24 volts, the amperage is 20.83 amps (500 ÷ 24 = 20.83). This value helps you determine the minimum current your cable must handle.
Why is voltage drop important in solar cable sizing?
Voltage drop affects the efficiency of your solar system. When electricity travels through a cable, resistance causes a small loss of voltage. If the voltage drop is too high, your devices may not receive enough power. Keeping the voltage drop within 2-3% ensures optimal performance. You can reduce voltage drop by using thicker cables or shortening the cable length.
What is the role of AWG in selecting solar cables?
American Wire Gauge (AWG) measures the thickness of a cable. Thicker cables, represented by smaller AWG numbers, can handle higher currents and reduce voltage drop. For example, a 10 AWG cable is suitable for higher amperage systems, while a 14 AWG cable works for lower currents. Always refer to an AWG chart to match the cable size to your system's requirements.
Can I use a wire size calculator for solar cable sizing?
Yes, a wire size calculator simplifies the process of selecting the right cable. It considers factors like amperage, voltage, cable length, and allowable voltage drop. Input these values into the calculator to find the appropriate cable size. This tool helps you avoid guesswork and ensures accurate results.
Should I consider future expansion when sizing solar cables?
Yes, planning for future expansion is essential. If you add more solar panels or increase your system's capacity later, the existing cables may not handle the additional load. Choose a cable size that accommodates potential upgrades. For example, if your current system generates 20 amps, select a cable that can handle 25-30 amps. This approach saves you from replacing cables in the future.
How do I account for cable length in solar cable sizing?
Measure the distance between your solar panels and the charge controller or inverter. Double this distance to account for the round trip of the current. Longer cables increase resistance, leading to voltage drop. Use the formula:
Voltage Drop = (Amperage × Cable Length × Resistance per Unit Length) ÷ 1000
If the voltage drop exceeds 2-3%, select a thicker cable to reduce resistance and maintain efficiency.
What type of insulation should I choose for solar cables?
The insulation type depends on your installation environment. For outdoor setups, use cables with UV-resistant insulation to protect against sunlight exposure. If your system operates in high-temperature areas, choose cables with a higher temperature rating. Proper insulation ensures durability and safety.
Are there specific electrical codes I need to follow?
Yes, local electrical codes and standards often specify minimum requirements for solar cable sizing and installation. These regulations ensure safety and compliance. For example, some regions require UV-resistant cables for outdoor use or mandate specific grounding methods. Familiarize yourself with these rules before installing your system. Consult a professional if needed.
Can I install solar cables myself, or should I hire a professional?
You can install solar cables yourself if you have the necessary knowledge and tools. However, hiring a professional ensures proper installation and compliance with local codes. Professionals can also verify your cable sizing calculations and address any safety concerns. If you feel uncertain, consulting an expert is the best choice.