

 Send Email
 Whatsapp


how to install solar cable connectors
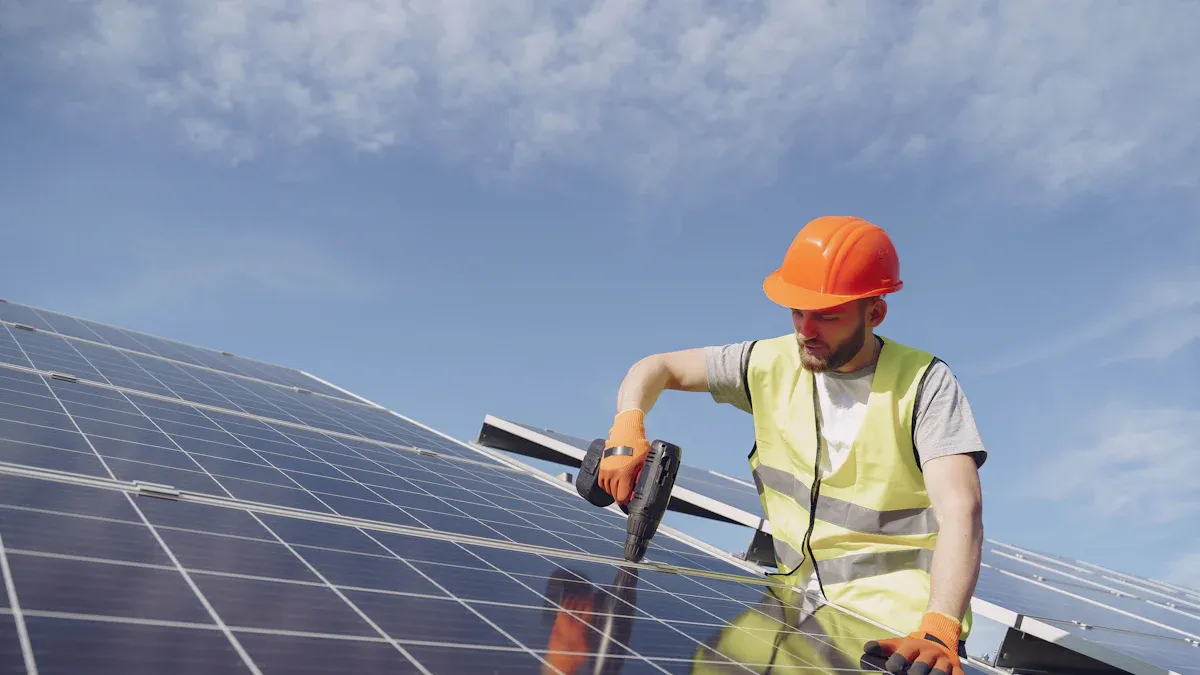
You can install a Solar Connector by stripping the cable, crimping the terminal, and snapping everything together. Always use the right tools. Double-check your work for a tight, weatherproof fit. Take your time. A secure connection keeps your solar system safe and running smoothly.
Key Takeaways
- Gather the right tools and materials before starting, including wire strippers, crimping tools, Solar Cables, andconnectors to ensure a smooth installation.
- Follow each installation step carefully: strip the cable properly, crimp the terminal tightly, assemble the connector with the back cap, and test the connection with a multimeter.
- Always prioritize safety by turning off power before working, wearing gloves, working in dry areas, and double-checking your work to avoid common mistakes and keep your solar system reliable.
Solar Connector Tools and Materials
Before you start working with any solar connector, you need to gather the right tools and materials. Having everything ready makes the job smoother and helps you avoid mistakes.
Tools You’ll Need
You do not need fancy equipment, but you do need the right tools. Here’s a list to get you started:
- Wire stripper: This tool helps you remove the insulation from the cable without damaging the wires.
- Crimping tool: You use this to attach the metal terminal to the wire. Make sure it matches the size of your connector.
- Cable cutter: This tool gives you a clean cut on your solar cable.
- Multimeter: You can use this to check your connections and make sure everything works.
- Wrench or pliers: These help you tighten the connector parts for a snug fit.
Tip: Some solar connector kits come with a special spanner or wrench. This tool makes tightening much easier.
Materials Required
You also need the right materials to finish the job. Here’s what you should have on hand:
- Solar cable (usually 10 AWG or 12 AWG)
- Solar connectors (MC4 or other types, depending on your system)
- Metal terminals (these fit inside the connector)
- Electrical tape or heat shrink tubing (for extra protection)
Check your solar connector kit before you start. Some kits include everything you need, while others require you to buy parts separately. Always match the cable size and connector type for a safe and reliable connection.
Solar Connector Installation Steps
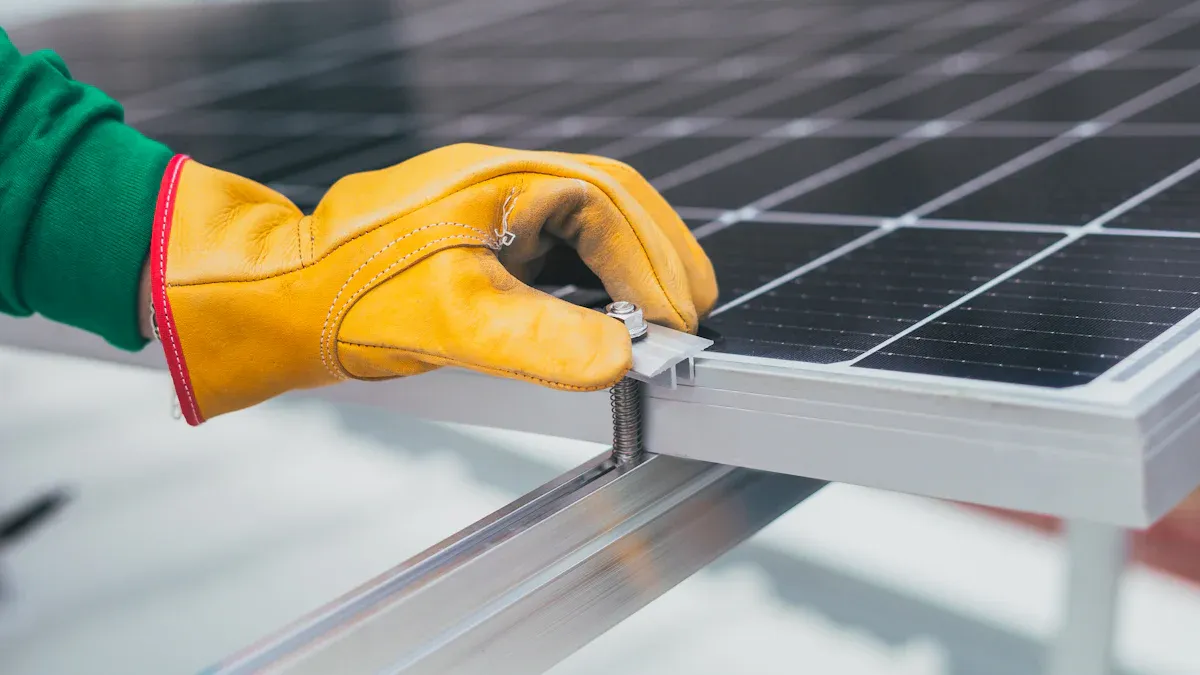
Prepare and Strip the Cable
Start by measuring the length of cable you need. Use your cable cutter to make a clean cut. Grab your wire stripper and set it to the right gauge for your solar cable. Place the end of the cable in the stripper and squeeze. Pull off about 6-8 millimeters of insulation. You want to see clean, shiny copper wires. If you cut any strands, trim the cable and try again. A good strip helps you get a strong connection later.
Tip: Twist the exposed copper strands together. This keeps them neat and makes crimping easier.
Crimp the Terminal
Now, take a metal terminal from your kit. Slide the stripped end of the cable into the open end of the terminal. Make sure all the copper fits inside. Grab your crimping tool and place the terminal in the right slot. Squeeze the handles hard. You should feel the tool press the metal tight around the wire. Give the terminal a gentle tug. If it stays put, you did it right. If it slips off, crimp it again.
A solid crimp keeps your solar connector safe and reliable. Loose wires can cause heat and even fires, so always double-check your work.
Assemble the Solar Connector
Pick up the main body of the solar connector. Slide the back cap onto the cable first. Push the crimped terminal into the connector until you hear or feel a click. This means the terminal locked in place. Screw the back cap onto the connector body. Use your hands or a special spanner if you have one. Tighten it so no water or dust can get inside.
Note: If you skip the back cap, you will have to start over. Always put it on before you insert the terminal.
Connect and Test the Solar Connector
Once you finish both ends, you can connect them together. Push the male and female connectors until they click. This click means you have a secure fit. Now, grab your multimeter. Set it to check for continuity or voltage. Touch the probes to each end of the cable. If you see the right reading, your connection works.
If you want extra protection, wrap the joint with electrical tape or use heat shrink tubing. This step helps keep your solar connector weatherproof.
Safety Alert:Never connect or disconnect Solar Connectors when the system is live. Always turn off the power first.
Solar Connector Safety and Troubleshooting
Common Mistakes to Avoid
You might feel excited to finish your project, but rushing can lead to mistakes. Here are some common errors you should watch out for:
- Stripping too much or too little insulation from the cable. This can cause a weak connection.
- Forgetting to slide the back cap onto the cable before crimping the terminal.
- Not crimping the terminal tightly enough. Loose wires can cause heat and even fires.
- Mixing up the positive and negative wires. Always double-check before you connect.
- Skipping the test with a multimeter. You want to make sure your solar connector works before you move on.
Tip: Take your time with each step. Careful work now saves you trouble later.
Safety Tips for Installation
Safety comes first when you work with electricity. Here are some tips to keep you safe:
- Always turn off the power before you start.
- Wear gloves to protect your hands from sharp wires.
- Use tools with insulated handles.
- Work in a dry area. Water and electricity do not mix.
- Keep your workspace clean and organized.
Alert: Never touch bare wires with your hands. Even a small shock can hurt you.
How to Disconnect a Solar Connector
Sometimes you need to disconnect a solar connector for maintenance or repairs. Here’s how you do it:
- Turn off all power to the system.
- Press the locking tabs on the connector.
- Pull the connectors apart gently. Do not yank or twist.
- Check the ends for dirt or damage before reconnecting.
If your connectors feel stuck, use a special disconnect tool. This tool helps you release the tabs without breaking anything.
You want your solar setup to last. Always double-check your work and follow safety tips. Careful installation gives you peace of mind and keeps your system running strong. Remember, a little extra effort now means fewer problems later. 👍
FAQ
How do you know if your solar connector is waterproof?
You should check the rubber seal and make sure you tighten the back cap. If you see no gaps, your connector stays dry.
Can you reuse solar connectors?
You can reuse them if they look clean and undamaged. Always check the metal parts for rust or wear before using them again.
What size cable works best with solar connectors?
Most solar connectors fit 10 AWG or 12 AWG cables. You should always match the cable size to your connector for a safe fit.