

 Send Email
 Whatsapp


How to install solar PV connectors
How to install solar PV connectors
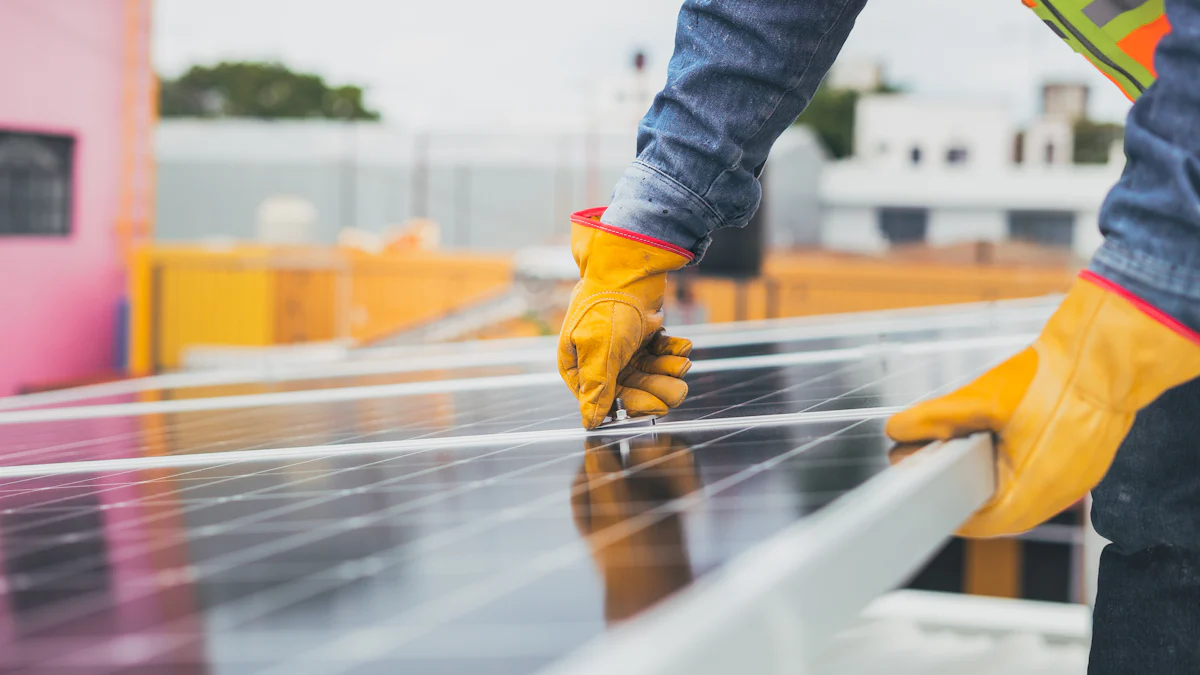
Solar PV Connectors play a vital role in linking your solar panels to the rest of your system. They ensure a secure and efficient transfer of electricity, which directly impacts the performance of your solar setup. Installing them correctly not only boosts efficiency but also enhances safety by minimizing risks like loose connections or electrical faults. By understanding their importance and following proper installation practices, you can maximize the durability and reliability of your solar energy system.
Key Takeaways
- Understand the importance of solar PV connectors for efficient and safe electricity transfer in your solar energy system.
- Gather essential tools like wire strippers, crimping tools, and multimeters to ensure a smooth installation process.
- Follow a step-by-step guide to prepare cables, attach connector pins, and assemble connectors securely for optimal performance.
- Always test your connections with a multimeter to verify voltage, continuity, and polarity before finalizing the installation.
- Prioritize safety by wearing proper gear and avoiding work on live systems to prevent electrical hazards.
- Be aware of common mistakes, such as improper wire stripping and loose crimping, to enhance the reliability of your installation.
- Regularly inspect your solar PV connectors to maintain their performance and prevent issues like corrosion or loose connections.
Overview of Solar PV Connectors
What Are Solar PV Connectors?
Solar PV connectors are specialized components that link solar panels to the rest of your solar energy system. These connectors ensure a secure and efficient transfer of electricity between the panels and other system components, such as inverters or batteries. They are designed to handle high voltages and currents while maintaining a reliable connection in various environmental conditions.
Most solar PV connectors, like MC4 connectors, feature a male and female design. This design allows you to create a tight, weatherproof seal that protects the electrical connection from moisture, dust, and other external factors. These connectors are also easy to assemble and disassemble, making them user-friendly for both professionals and DIY enthusiasts.
Why Are Solar PV Connectors Important?
Using high-quality connectors also enhances the durability of your system. They protect the electrical connections from environmental damage, such as rain, UV exposure, and temperature fluctuations. This protection minimizes the risk of short circuits or other electrical issues, which could lead to system failure or safety hazards.
Using high-quality connectors also enhances the durability of your system. They protect the electrical connections from environmental damage, such as rain, UV exposure, and temperature fluctuations. This protection minimizes the risk of short circuits or other electrical issues, which could lead to system failure or safety hazards. Additionally, these connectors simplify the installation process. Their standardized design ensures compatibility with most solar panels and cables, allowing you to connect components quickly and securely. By using reliable solar PV connectors, you can ensure that your solar energy system operates efficiently and safely for years to come.
Additionally, these connectors simplify the installation process. Their standardized design ensures compatibility with most solar panels and cables, allowing you to connect components quickly and securely. By using reliable solar PV connectors, you can ensure that your solar energy system operates efficiently and safely for years to come.
Tools and Materials for Installing Solar PV Connectors
Essential Tools
To install solar PV connectors effectively, you need the right tools. These tools ensure precision and safety during the installation process. Below is a list of essential tools you should have:
- Wire Stripper: This tool helps you remove the insulation from the Solar Cables without damaging the wires inside. Accurate stripping is crucial for a proper connection.
- Crimping Tool: Use this tool to securely attach the connector pins to the stripped wires. A good crimping tool ensures a tight and reliable connection.
- Multimeter: This device allows you to test the electrical connections after installation. It helps confirm that the connectors are functioning correctly.
- Screwdriver: Some connectors may require a small screwdriver for assembly or adjustments.
- Pliers: These are useful for holding or adjusting components during the installation process.
Having these tools ready will make the installation process smoother and more efficient.
Required Materials
In addition to tools, you need specific materials to complete the installation. These materials ensure compatibility and durability for your solar energy system. Here’s what you’ll need:
- Solar Cables: Choose cables that are compatible with your solar PV connectors. Ensure they are weather-resistant and designed for outdoor use.
- MC4 Connectors: These are the most commonly used solar PV connectors. They come in male and female pairs and provide a secure, weatherproof connection.
- Connector Pins: These pins are inserted into the connectors and crimped onto the stripped wires. They are essential for creating a stable electrical connection.
- Heat Shrink Tubing (Optional): Use this to provide additional insulation and protection for the connections.
- Cable Ties: These help organize and secure the cables, preventing them from tangling or moving.
By gathering these materials beforehand, you can avoid interruptions during the installation process. Always ensure that the materials meet the quality standards required for solar energy systems.
Step-by-Step Guide to Installing Solar PV Connectors
Preparing the Solar Cables
Start by preparing the solar cables for installation. Use a wire stripper to remove about 1/4 inch of insulation from the end of each cable. Ensure you strip the insulation carefully to avoid damaging the copper wires inside. Damaged wires can lead to poor connections and reduce the efficiency of your system.
After stripping the insulation, inspect the exposed wires. Make sure they are clean and free from any debris or oxidation. If the wires appear tarnished, clean them gently with a soft cloth. Properly prepared cables ensure a secure and efficient connection with the solar PV connector.
Attaching the Connector Pins
Once the cables are ready, attach the connector pins. Take a connector pin and insert the stripped end of the cable into the pin’s opening. Ensure the wires fit snugly inside the pin. A loose fit can result in an unreliable connection.
Use a crimping tool to secure the pin onto the cable. Place the pin into the crimping tool and apply firm pressure until the pin is tightly crimped. A well-crimped pin will not slide off the cable when pulled gently. This step is crucial for creating a stable electrical connection that can handle the current from your solar panels.
Assembling the Connectors
With the pins attached, assemble the connectors. Take the male and female parts of the solar PV connector and insert the crimped pins into their respective housings. Push the pins into the connector until you hear a click. The click indicates that the pin is locked securely in place.
Next, align the male and female connectors. Ensure the positive and negative terminals match correctly. Push the connectors together until they click into place. This step creates a weatherproof seal that protects the connection from environmental factors like rain and dust.
Finally, test the assembled connectors. Use a multimeter to check the continuity and voltage of the connection. A successful test confirms that the solar PV connector is installed correctly and ready for use.
Testing the Connection
Testing the connection ensures your Solar PV Connector is functioning correctly and safely. This step verifies that the electrical flow between components is uninterrupted and efficient. Follow these steps to test your connection effectively:
-
Inspect the Connectors
Begin by visually inspecting the connectors. Check for any visible damage, such as cracks or loose pins. Ensure the male and female connectors are securely locked together. A proper connection prevents energy loss and enhances system safety. -
Use a Multimeter
A multimeter is essential for testing the connection. Set the multimeter to measure voltage or continuity. Place the probes on the positive and negative terminals of the connector. For voltage testing, confirm that the reading matches the expected output of your solar panel. For continuity testing, ensure the multimeter beeps or shows a continuous circuit, indicating a secure connection. -
Check Polarity
Verify the polarity of the connection. Ensure the positive terminal of the solar panel aligns with the positive terminal of the connector, and the same for the negative terminals. Incorrect polarity can damage your system or reduce its efficiency. -
Test Under Load
If possible, test the connection under load. Connect the solar panel to the rest of the system and monitor its performance. Check for stable voltage and current readings. This step confirms that the connector performs well under real-world conditions. -
Recheck After Testing
After completing the tests, recheck the connectors. Ensure they remain securely fastened and free from any signs of overheating or wear. Regular inspections help maintain the long-term reliability of your solar energy system.
Testing the connection is a critical step in the installation process. It ensures your Solar PV Connector operates efficiently and safely, providing optimal performance for your solar energy system.
Safety Precautions for Installing Solar PV Connectors
Wearing Proper Safety Gear
Safety gear is essential when working with electrical components like a Solar PV Connector. You should always wear insulated gloves to protect your hands from potential electrical shocks. These gloves also provide a better grip, reducing the chances of accidental slips during installation. Safety glasses are equally important. They shield your eyes from debris or sparks that may occur while stripping wires or crimping pins.
If you are working outdoors, consider wearing a hard hat to protect your head from falling objects. Closed-toe shoes with rubber soles are also recommended. They minimize the risk of electrical grounding and provide stability on uneven surfaces. Prioritizing safety gear ensures you can work confidently and avoid unnecessary risks.
Avoiding Live Systems
Never work on live systems when installing a Solar PV Connector. Before starting, disconnect the solar panels from any power source. This step eliminates the risk of electrical shock or short circuits. Use a multimeter to confirm that no current flows through the cables before handling them.
Avoid touching exposed wires or terminals, even if the system appears inactive. Treat every component as if it could carry electricity. If you are unsure about the system's status, consult a professional or refer to the manufacturer's guidelines. Taking these precautions ensures a safer installation process.
Double-Checking Connections
Double-checking your connections is crucial for both safety and efficiency. After assembling the connectors, inspect them closely. Ensure the male and female parts are securely locked together. Loose connections can lead to energy loss or overheating, which may damage your system.
Verify that the connector pins are properly crimped and seated inside their housings. Use a multimeter to test the continuity and voltage of the connection. Confirm that the polarity matches correctly, with positive terminals aligned with positive and negative with negative. Rechecking your work minimizes errors and ensures a reliable and durable connection.
By following these safety precautions, you can install your Solar PV Connector effectively while protecting yourself and your system. Safety should always be your top priority during any electrical installation.
Common Mistakes and Troubleshooting Tips for Solar PV Connectors
Common Mistakes to Avoid
When installing a Solar PV Connector, you might encounter some common pitfalls. Avoiding these mistakes ensures your system operates efficiently and safely. Here are the most frequent errors and how to steer clear of them:
-
Improper Wire Stripping
Stripping too much or too little insulation from the cable can lead to poor connections. Always strip about 1/4 inch of insulation, ensuring the copper wires remain intact and undamaged. -
Loose Crimping
A poorly crimped connector pin can cause unstable connections. Use a high-quality crimping tool and apply firm pressure to secure the pin tightly onto the wire. -
Mismatched Polarity
Connecting the positive terminal to the negative terminal is a critical mistake. Double-check the polarity before assembling the connectors to prevent damage to your system. -
Skipping the Testing Step
Failing to test the connection after installation can leave issues undetected. Always use a multimeter to verify voltage, continuity, and polarity. -
Ignoring Weatherproofing
Not securing the connectors properly can expose them to moisture and dust. Ensure the male and female connectors click together to form a weatherproof seal.
By recognizing these mistakes, you can take proactive steps to avoid them during installation.
Troubleshooting Tips
If your Solar PV Connector isn’t functioning as expected, troubleshooting can help identify and resolve the issue. Follow these tips to address common problems:
-
Inspect the Connection
Start by visually examining the connectors. Look for loose pins, cracks, or improper assembly. Reassemble the connectors if necessary, ensuring they click securely into place. -
Test with a Multimeter
Use a multimeter to check for continuity and voltage. Place the probes on the terminals and confirm the readings match the expected output. If the readings are inconsistent, recheck the crimping and polarity. -
Check for Corrosion
Corrosion on the connector pins can disrupt the electrical flow. Clean the pins gently with a soft cloth or contact cleaner to restore proper conductivity. -
Verify Cable Compatibility
Ensure the cables are compatible with the connectors. Using incompatible cables can result in poor connections or system inefficiency. -
Monitor System Performance
Connect the solar panel to the system and observe its performance. Look for stable voltage and current readings. If the system underperforms, revisit each installation step to identify potential errors.
Troubleshooting requires patience and attention to detail. By following these tips, you can resolve most issues and ensure your Solar PV Connector operates effectively.
Installing a Solar PV Connector correctly is essential for ensuring the safety and efficiency of your solar energy system. By following the outlined steps, you create a secure and durable connection that supports optimal energy transfer. A well-installed connector not only enhances the performance of your system but also extends its lifespan. Taking the time to install these components properly ensures that your solar setup operates reliably, providing you with clean and sustainable energy for years to come.
FAQ
What are solar PV connectors used for?
Solar PV connectors link your solar PV connectors to the rest of your solar energy system.
Can I install solar PV connectors myself?
Yes, you can install solar PV connectors yourself if you have the necessary tools and follow the proper steps. However, you should have a basic understanding of electrical systems and prioritize safety. If you feel unsure or lack experience, consider hiring a professional to ensure a safe and reliable installation.
How do I choose the right solar PV connectors?
Choose connectors that are compatible with your solar panels and cables. MC4 connectors are the most commonly used type due to their reliability and weatherproof design. Ensure the connectors meet the voltage and current requirements of your system. High-quality connectors enhance durability and performance.
Why is testing the connection important?
Testing ensures that your solar PV connectors function correctly and safely. It verifies that electricity flows efficiently between components without interruptions. Testing also helps identify issues like loose connections, incorrect polarity, or damaged components before they cause problems in your system.
What should I do if my connectors don’t click together?
If your connectors don’t click together, inspect them for debris, misalignment, or damage. Clean the connectors and ensure the male and female parts align properly. Push them together firmly until you hear a click. If the issue persists, check for compatibility between the connectors and cables.
How can I prevent corrosion on solar PV connectors?
To prevent corrosion, use weatherproof connectors like MC4, which provide a tight seal against moisture and dust. Regularly inspect the connectors for signs of wear or oxidation. Clean them with a soft cloth or contact cleaner if needed. Proper maintenance extends the lifespan of your connectors.
Are solar PV connectors reusable?
Yes, solar PV connectors are reusable if they remain undamaged. You can disassemble them by unlocking the male and female parts. However, always inspect the connectors and pins for wear or damage before reusing them. Replace any worn-out components to maintain a secure connection.
What happens if I connect the polarity incorrectly?
Incorrect polarity can damage your solar energy system or reduce its efficiency. Always double-check the alignment of positive and negative terminals before assembling the connectors. Use a multimeter to verify polarity during testing. Correcting polarity mistakes early prevents costly repairs.
Do I need special cables for solar PV connectors?
Yes, you need solar cables designed for outdoor use and compatible with your connectors. These cables should be weather-resistant and capable of handling high voltages and currents. Using the right cables ensures a secure and efficient connection, enhancing the overall performance of your system.
How often should I inspect my solar PV connectors?
Inspect your solar PV connectors at least once every six months. Look for signs of wear, corrosion, or loose connections. Regular inspections help identify potential issues early, ensuring your solar energy system operates efficiently and safely over time.