

 Send Email
 Whatsapp


solar cable usage for solar panels
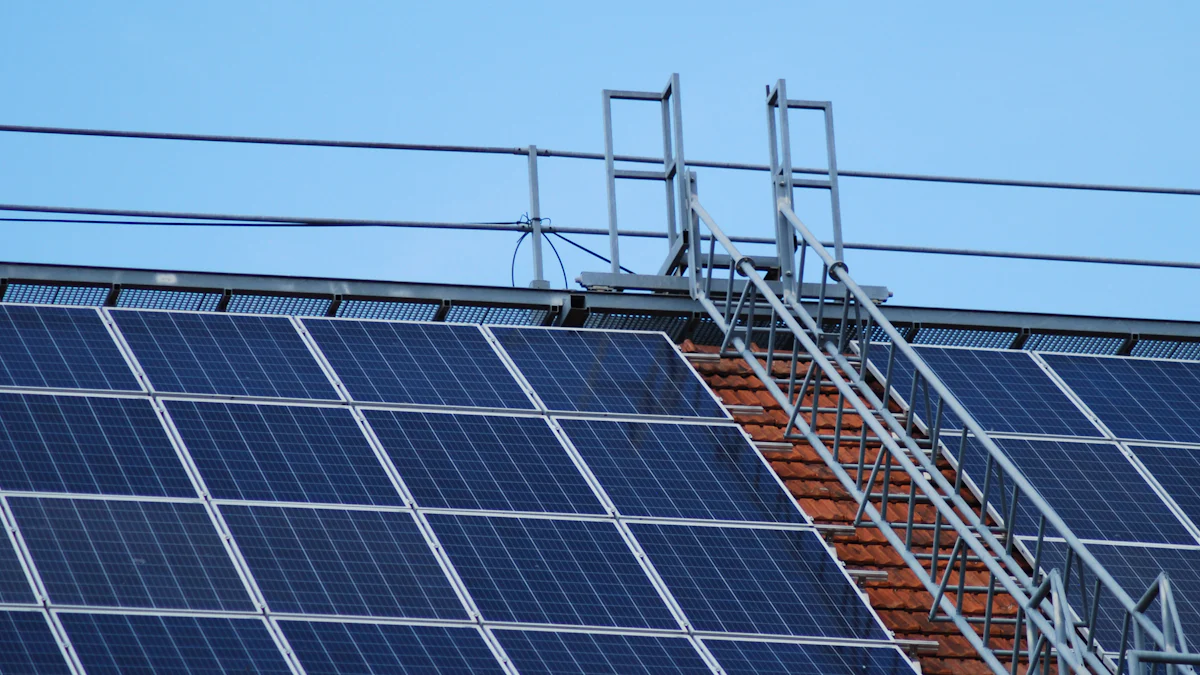
Solar Cables connect your solar panels to the rest of your system, ensuring smooth energy flow. They’re designed to handle high voltage and harsh conditions. Picking the right solar cable isn’t just about performance—it’s about safety too. The wrong choice could lead to energy loss or even damage to your system.
Key Takeaways
- Pick the correct solar cable for safe and efficient use.
- Think about voltage, current, and distance to stop energy loss.
- Check your solar cables often for damage to keep them working well and save money on repairs.
What Is a Solar Cable?
Definition and Purpose
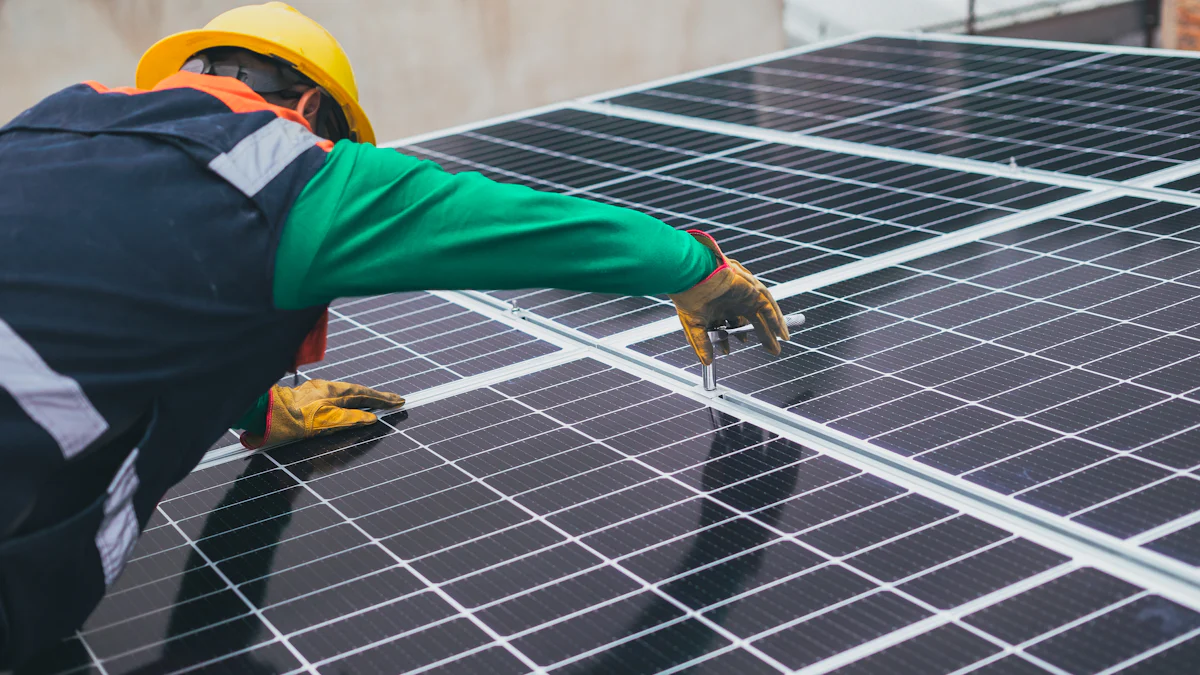
A solar cable is a specialized wire designed to connect the components of your solar power system. It carries the electricity generated by your solar panels to other parts of the system, like the inverter or battery. Without it, the energy your panels produce wouldn’t reach where it’s needed.
You might wonder why a regular wire won’t do the job. Solar cables are built to handle the unique demands of solar systems. They can manage high voltages and currents while withstanding tough outdoor conditions. Their design ensures your system runs efficiently and safely.
Key Features of Solar Cables
Not all cables are created equal. Solar cables come with specific features that make them ideal for solar panel systems:
- Durability: These cables are tough. They resist wear and tear, even in extreme weather.
- UV Resistance: Since they’re often exposed to sunlight, solar cables are made to resist UV rays. This prevents cracking or damage over time.
- Insulation: High-quality insulation protects the cable from moisture, heat, and chemicals. This ensures long-term performance.
- Flexibility: Solar cables are easy to bend and route, making installation simpler.
When you choose the right solar cable, you’re setting up your system for success. It’s not just about connecting wires—it’s about ensuring efficiency and safety for years to come.
Types of Solar Cables
When it comes to solar panel systems, not all cables are the same. Each type of solar cable has unique features and purposes. Let’s break down the three most common ones.
PV Wire
PV wire, or photovoltaic wire, is a top choice for solar installations. It’s designed specifically for outdoor use and can handle high voltages. You’ll find it’s double-insulated, which means extra protection against weather and wear. This wire is also flame-resistant and UV-resistant, making it perfect for long-term exposure to sunlight. If you’re setting up a system with grounded or ungrounded panels, PV Wire works for both. It’s reliable and built to last.
USE-2 Wire
USE-2 wire is another popular option for solar systems. It’s rated for underground use and can handle direct burial without additional conduit. This wire is single-insulated but still durable enough for outdoor conditions. It resists moisture and heat, so it’s a solid choice for connecting solar panels to inverters or other components. However, USE-2 wire is typically used in grounded systems. If your setup is ungrounded, you’ll need to look elsewhere.
THHN Wire
THHN wire is a versatile option, but it’s not as specialized as PV or USE-2 wires. You’ll often see it used in indoor applications or within conduit for outdoor use. It’s lightweight and easy to work with, but it lacks the weather resistance of other solar cables. If you’re considering THHN wire, make sure it’s installed in a protective conduit to avoid damage from UV rays or moisture.
Each of these cables has its strengths. Choosing the right one depends on your system’s needs and environment.
How to Choose the Right Solar Cable
Factors to Consider (e.g., voltage, current, and distance)
Choosing the right solar cable starts with understanding your system’s needs. Three key factors to think about are voltage, current, and distance.
- Voltage: Check the voltage rating of your system. Your cable must handle the maximum voltage your solar panels produce. Using a cable with a lower rating could lead to overheating or failure.
- Current: Look at the current your system generates. A cable that’s too thin might not carry the current safely, which could cause energy loss or even a fire hazard.
- Distance: The longer the cable, the more resistance it creates. This can reduce efficiency. For longer distances, you’ll need a thicker cable to minimize energy loss.
By balancing these factors, you’ll ensure your system runs smoothly and safely.
Importance of Cable Insulation and Durability
Solar cables face tough conditions, so insulation and durability are non-negotiable. High-quality insulation protects the cable from moisture, heat, and chemicals. This keeps your system safe and efficient.
Durability matters too. Solar cables often sit outside, exposed to sunlight, rain, and temperature changes. Look for cables with UV-resistant and weatherproof materials. These features prevent wear and tear, saving you from costly repairs later.
Choosing the Right AWG for Your System
AWG, or American Wire Gauge, refers to the thickness of the cable. A lower AWG number means a thicker cable, which can carry more current. For most solar systems, you’ll need cables between 10 AWG and 6 AWG.
To pick the right AWG, consider your system’s current and distance. If you’re unsure, it’s better to go with a thicker cable. It might cost more upfront, but it’ll improve efficiency and reduce risks.
Tip: Always double-check your system’s specifications before buying a solar cable. A little research now can save you big headaches later.
Installation Tips for Solar Cables
Proper Cable Routing and Management
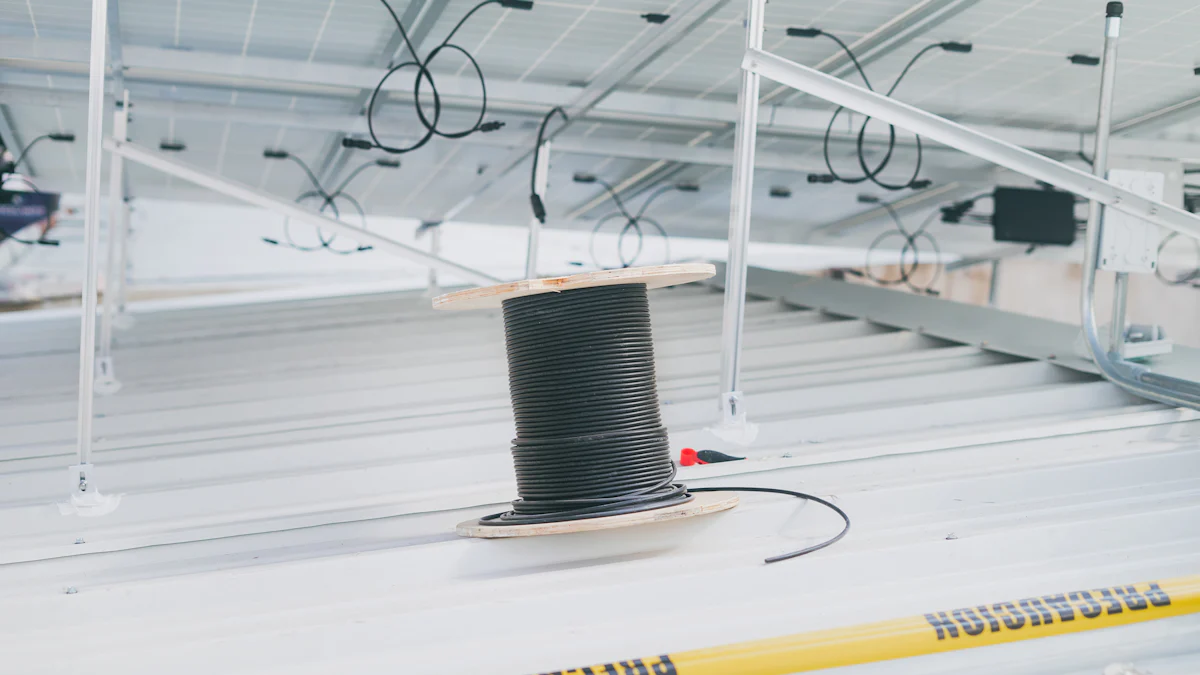
When installing solar cables, proper routing is key to keeping your system organized and efficient. Start by planning the path your cables will take. Avoid sharp bends or twists, as these can damage the wires over time. Use cable clips or ties to secure them in place. This prevents sagging and keeps everything neat.
Keep your cables away from areas where they might get stepped on or exposed to unnecessary wear. If possible, route them through conduits for added protection. This not only extends their lifespan but also makes your setup look professional.
Ensuring Weather Resistance and Safety
Solar cables often face harsh outdoor conditions. To ensure they last, choose cables with UV-resistant and weatherproof materials. These features protect against sunlight, rain, and temperature changes.
Check all connections to make sure they’re tight and secure. Loose connections can lead to energy loss or even electrical hazards. Use waterproof connectors to keep moisture out. If your cables are buried, make sure they’re rated for underground use.
Tip: Regularly inspect your cables for signs of wear or damage. Catching issues early can save you from costly repairs later.
Tools and Equipment for Installation
Having the right tools makes installation easier. You’ll need wire cutters, strippers, and crimping tools to handle the cables. A multimeter is handy for checking voltage and ensuring everything works correctly.
For securing cables, use zip ties or cable clips. If you’re routing through conduits, a fish tape tool can help pull the cables through. With the right equipment, you’ll save time and avoid frustration.
Common Mistakes to Avoid with Solar Cables
Using Incorrect Cable Types
Choosing the wrong cable type can cause serious problems for your solar system. Each cable type has specific uses. For example, PV wire is perfect for outdoor setups, while THHN wire needs extra protection like a conduit. If you use the wrong cable, it might not handle the voltage or weather conditions. This could lead to overheating, energy loss, or even system failure. Always double-check your system’s requirements before picking a cable.
Tip: Stick to cables designed for solar systems. They’re built to handle the unique demands of solar energy.
Poor Cable Connections
Loose or poorly connected cables can create big issues. They might cause energy loss, sparks, or even fires. When connecting cables, make sure the connections are tight and secure. Use the right tools, like crimping pliers, to get a solid connection. Don’t forget to check for corrosion, especially in outdoor setups. Corroded connections can weaken your system over time.
Reminder: Inspect your connections regularly. A quick check can prevent costly repairs later.
Ignoring Maintenance and Inspections
Neglecting maintenance is a common mistake. Over time, cables can wear out or get damaged by weather. Regular inspections help you catch problems early. Look for cracks, frayed insulation, or loose connections. If you spot any issues, fix them right away. Proper maintenance keeps your solar cable in good shape and ensures your system runs efficiently.
Pro Tip: Schedule a yearly inspection. It’s a simple way to keep your system safe and reliable.
Using the right solar cable ensures your system runs efficiently and safely. Proper installation and regular maintenance keep everything in top shape. Don’t hesitate to ask for professional advice if you’re unsure about anything. A little help now can save you time, money, and headaches later.
FAQ
What happens if I use the wrong solar cable?
Using the wrong cable can cause overheating, energy loss, or even system failure. Always choose cables designed for solar systems to ensure safety and efficiency.
How often should I inspect my solar cables?
Inspect your cables at least once a year. Look for cracks, loose connections, or frayed insulation. Regular checks help you catch problems early and avoid costly repairs.
Can I install solar cables myself?
Yes, but only if you’re confident in your skills. If you’re unsure, hire a professional. Proper installation ensures safety and maximizes your system’s performance.
Tip: When in doubt, consult an expert. It’s better to be safe than sorry!