

 Send Email
 Whatsapp


A Simple but Comprehensive guide to solar cable, solar wire and solar connectors
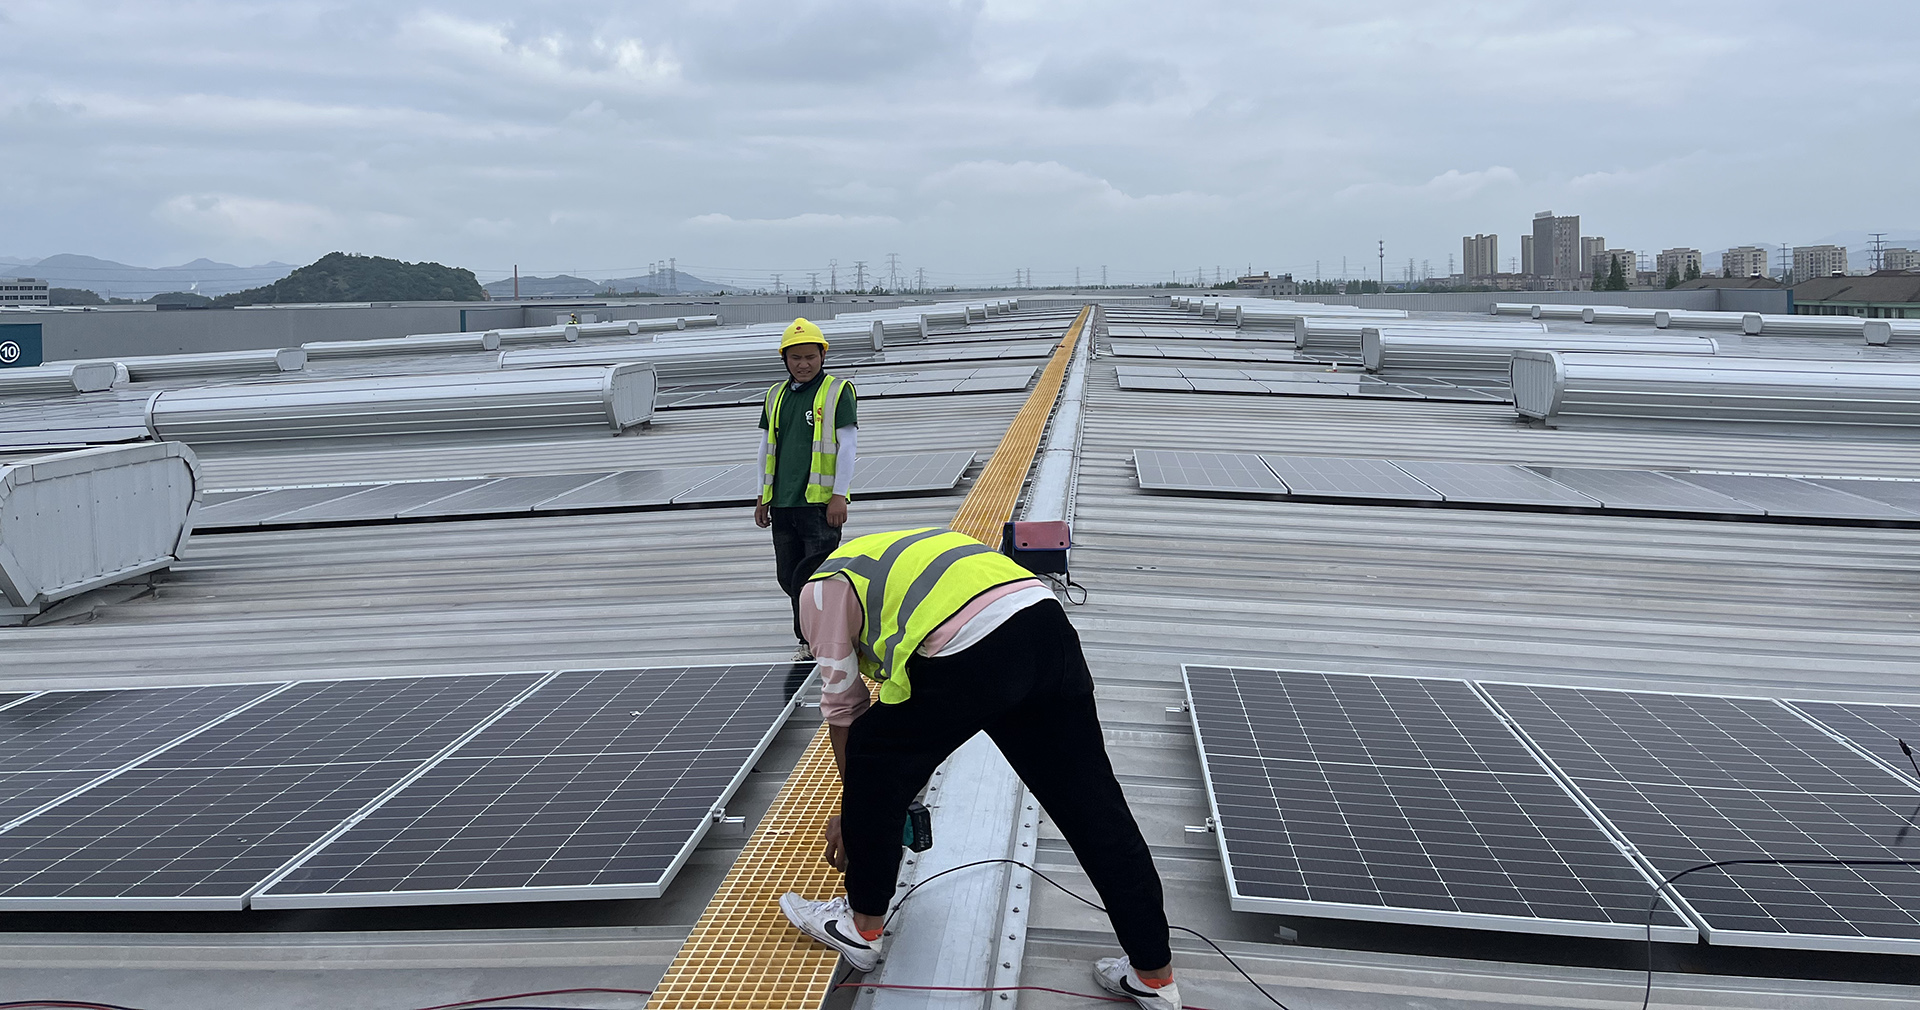
Solar Cables, wires, and connectors form the backbone of any photovoltaic system. You rely on these components to transfer electricity from solar panels to inverters and batteries. Each part plays a critical role in ensuring safe and efficient energy flow. High-quality solar cable and connectors also protect your system from damage, extending its lifespan.
Key Takeaways
- Pick good solar cables and connectors for safe energy use.
- Check your solar parts often for damage to keep them working.
- Make sure cables, wires, and connectors match to avoid problems.
What Are Solar Cables, Wires, and Connectors?

Solar cables and their unique features
Solar cables are specially designed to handle the demands of photovoltaic systems. These cables carry electricity generated by solar panels to other components like inverters or batteries. They are built to withstand harsh outdoor conditions, including extreme temperatures, UV radiation, and moisture. The insulation on a solar cable is thicker and more durable than standard electrical cables. This ensures safety and prevents energy loss during transmission.
You’ll often find two main types of solar cables: single-core and twin-core. Single-core cables are common in most installations, while twin-core cables are used when both positive and negative wires need to run together. Choosing the right solar cable ensures efficient energy transfer and reduces the risk of system failure.
Solar wires and their applications
Solar Wires are the conductors inside the cables that carry electricity. These wires are typically made of copper or aluminum, with copper being the preferred choice due to its excellent conductivity. Solar wires connect individual solar panels within an array or link panels to junction boxes.
You’ll notice that solar wires come in different gauges, which determine their current-carrying capacity. Thicker wires handle higher currents, making them suitable for larger systems. Selecting the correct wire gauge is crucial for preventing overheating and ensuring optimal performance.
Solar connectors and their types
Solar connectors are the components that join cables and wires together. They create secure, weatherproof connections between solar panels and other system parts. The most common type is the MC4 connector, known for its reliability and ease of use.
You might also encounter other types like T4 or Amphenol connectors, depending on your system’s requirements. Properly installed connectors minimize energy loss and maintain the system’s safety. Always ensure compatibility between connectors and cables to avoid installation issues.
Differences Between Solar Cables, Wires, and Connectors
Material and construction
Solar cables, wires, and connectors differ significantly in their materials and construction. Solar cables use high-quality copper or aluminum conductors, which ensure efficient electricity flow. Their insulation is thick and resistant to UV rays, moisture, and extreme temperatures. This makes them ideal for outdoor use. Solar wires, on the other hand, are the bare or insulated conductors inside the cables. They are often made of copper for better conductivity. Connectors, like the MC4 type, are built from durable plastic and metal components. These materials ensure a secure and weatherproof connection between system parts.
Applications in photovoltaic systems
Each component serves a unique purpose in a photovoltaic system. Solar cables transfer electricity from solar panels to inverters or batteries. They handle high voltages and currents, making them essential for energy transmission. Solar wires connect individual panels within an array or link panels to junction boxes. They ensure smooth energy flow between components. Connectors join cables and wires together, creating a reliable and safe connection. Without these connectors, your system would face energy loss and safety risks.
Durability and environmental resistance
Durability is a key factor that sets these components apart. Solar cables are designed to withstand harsh outdoor conditions. Their insulation resists UV radiation, water, and temperature fluctuations. Solar wires, while less protected, still offer good resistance when properly insulated. Connectors are built to endure similar conditions. High-quality connectors prevent corrosion and maintain a strong connection over time. Choosing durable components ensures your system performs well for years.
Choosing the Right Solar Cable, Wire, and Connector
Voltage and current ratings
When selecting components, you must consider their voltage and current ratings. These ratings indicate the maximum electrical load the cable, wire, or connector can handle safely. Using components with insufficient ratings can lead to overheating or even system failure. Check the specifications of your photovoltaic system and match them with the ratings of the components. For instance, a solar cable with a higher voltage rating is essential for larger systems to ensure safe energy transmission.
Insulation and UV resistance
Insulation quality plays a vital role in protecting your system. Solar cables and wires must have durable insulation to prevent electrical leakage and withstand environmental factors. UV resistance is equally important, especially for outdoor installations. Prolonged exposure to sunlight can degrade materials, leading to cracks or failures. Look for components labeled as UV-resistant to ensure they last longer under harsh conditions.
Connector compatibility
Not all connectors work with every cable or wire. You need to ensure that the connectors you choose are compatible with the other components in your system. For example, MC4 connectors are widely used and compatible with most solar cables. Mismatched connectors can cause loose connections, energy loss, or even safety hazards. Always double-check compatibility before installation.
System size and layout considerations
The size and layout of your photovoltaic system influence your choice of components. Larger systems require cables and wires with higher current-carrying capacities. The layout determines the length of cables needed and the type of connectors required. Plan your system carefully to avoid unnecessary costs or performance issues. Proper planning ensures efficient energy flow and reduces the risk of installation errors.
Best Practices for Installation

Cable routing and securing
Proper cable routing ensures your photovoltaic system operates efficiently and safely. You should plan the cable paths before installation. Keep the cables as short as possible to reduce energy loss. Avoid sharp bends or kinks, as these can damage the insulation and reduce the lifespan of the cables. Use cable ties or clips to secure the cables in place. This prevents movement caused by wind or vibrations, which could lead to wear and tear.
When routing cables, keep them away from areas prone to water pooling or excessive heat. Elevated cable trays or conduits can provide additional protection. Always ensure the solar cable is not exposed to sharp edges or abrasive surfaces. These precautions help maintain the integrity of your system over time.
Avoiding installation mistakes
Common installation mistakes can compromise your system’s performance. One frequent error is using mismatched components. Always verify that your cables, wires, and connectors are compatible. Another mistake is failing to account for voltage drop. Longer cable runs can lead to energy loss, so choose cables with the appropriate gauge.
Improper grounding is another issue to avoid. Ensure all components are correctly grounded to prevent electrical hazards. Double-check all connections during installation. Loose or poorly connected components can cause energy loss or even system failure. Taking these steps minimizes risks and ensures a smooth installation process.
Ensuring secure connections
Secure connections are vital for the safety and efficiency of your system. Use connectors designed specifically for photovoltaic systems, such as MC4 connectors. These provide a weatherproof and reliable connection. When attaching connectors, ensure they click into place. A loose connection can lead to energy loss or overheating.
Inspect each connection point for signs of wear or damage. Replace any faulty components immediately. Regularly check that all connections remain tight and secure. This practice not only improves performance but also extends the lifespan of your system. A well-maintained connection ensures uninterrupted energy flow.
Maintenance and Troubleshooting
Inspecting for wear and tear
Regular inspections keep your solar system running efficiently. Look for visible damage on cables, wires, and connectors. Cracks, frayed insulation, or discoloration often indicate wear. Pay attention to areas exposed to sunlight or moisture, as these are more prone to degradation. Check for loose or corroded connectors. Corrosion can disrupt energy flow and lead to system failure.
Inspect connections at least twice a year. Use a flashlight to examine hard-to-reach areas. If you notice any issues, replace the damaged components immediately. Ignoring wear and tear can compromise safety and reduce your system’s lifespan.
Tip: Keep a maintenance log to track inspections and repairs. This helps you stay organized and ensures timely upkeep.
Cleaning and protecting components
Dirt and debris can affect your system’s performance. Clean your cables and connectors with a soft, dry cloth. For stubborn grime, use a damp cloth and mild soap. Avoid harsh chemicals, as they can damage insulation or connectors.
Protect your components from environmental factors. Use UV-resistant cable covers to shield cables from sunlight. Elevate cables to prevent water pooling. For connectors, apply a weatherproof sealant to keep moisture out. These steps help maintain efficiency and extend the life of your system.
Note: Always turn off your system before cleaning to avoid electrical hazards.
Fixing common issues
Loose connections and voltage drops are common problems. Tighten any loose connectors using the appropriate tools. Replace worn-out connectors to restore a secure connection. For voltage drops, check the cable length and gauge. Longer cables may require thicker wires to handle the load.
If your system isn’t generating power, inspect the entire circuit. Look for damaged wires or disconnected components. Use a multimeter to test voltage levels. Identifying the root cause helps you fix the issue quickly and avoid downtime.
Reminder: Consult a professional if you encounter complex issues or are unsure about repairs.
Choosing the right solar cables, wires, and connectors ensures your system operates safely and efficiently. Proper installation and regular maintenance maximize performance and extend lifespan. Always invest in high-quality components from trusted suppliers.
Tip: Reliable materials and careful planning protect your investment and help you achieve long-term energy savings.
FAQ
What is the difference between single-core and twin-core solar cables?
Single-core cables have one conductor, while twin-core cables have two. Use twin-core cables when positive and negative wires need to run together.
How often should you inspect solar cables and connectors?
Inspect them at least twice a year. Regular checks help you identify wear, damage, or loose connections before they cause system issues.
Can you use regular electrical cables for solar systems?
No, regular cables lack UV resistance and durability. Solar cables are specifically designed to handle outdoor conditions and high voltages safely.
Tip: Always choose components labeled for photovoltaic systems to ensure safety and efficiency.