

 Send Email
 Whatsapp


how to install solar cable connectors
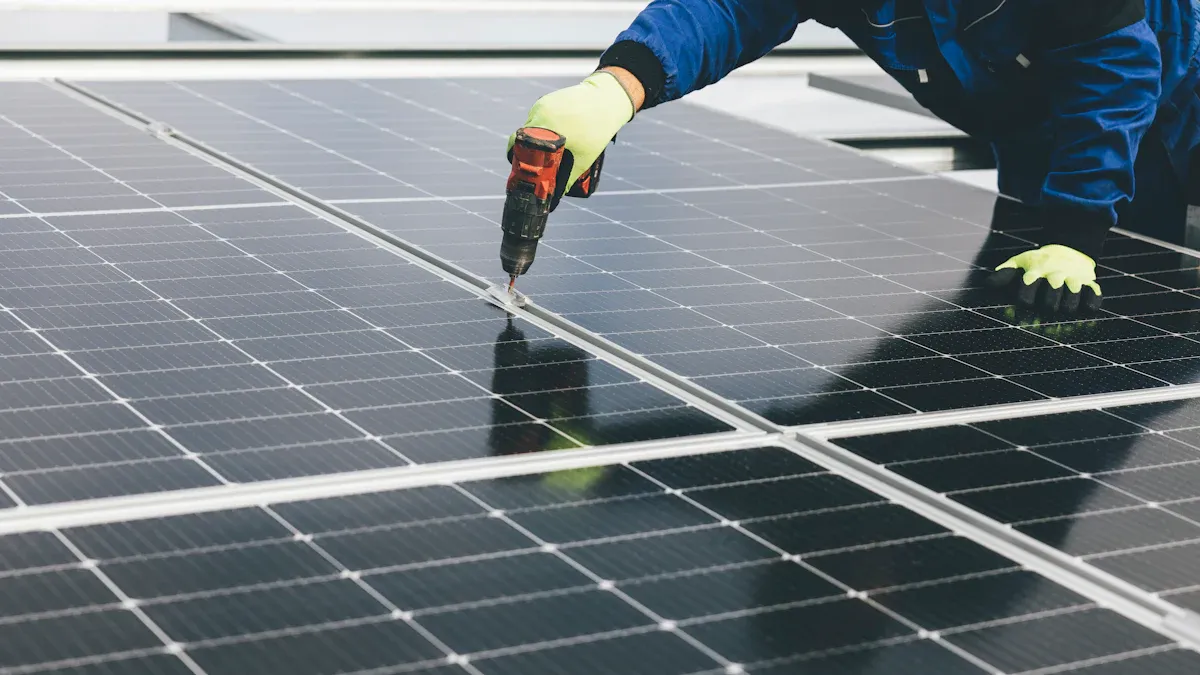
You start installing a Solar Connector by preparing your cable. You work carefully with the right tools to make sure each step is safe. You connect the wires and test the connection. This process helps you build a secure and weatherproof link for your solar power system.
Key Takeaways
- Use the right tools and materials like wire strippers, crimping tools, and solar connectors to ensure a safe and strong installation.
- Follow each step carefully: prepare the cable, strip insulation correctly, crimp terminals tightly, assemble connectors properly, and test connections with a multimeter.
- Inspect your connections regularly to keep them secure and weatherproof, and avoid common mistakes like stripping too much insulation or skipping the sealing ring.
Solar Connector Tools and Materials
Essential Tools for Solar Connector Installation
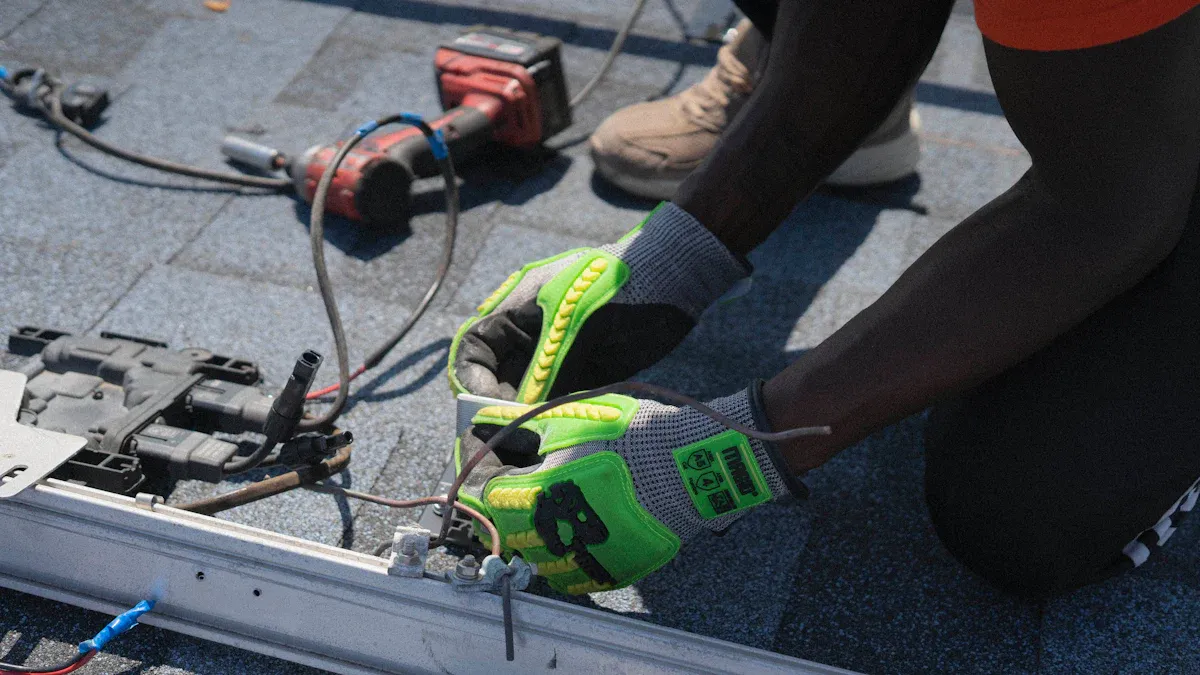
You need the right tools to install a solar connector safely and correctly. These tools help you make clean cuts, strip wires, and create strong connections. Here is a list of essential tools you should have before you start:
- Wire stripper: Removes insulation from the cable without damaging the wire.
- Cable cutter: Cuts the Solar Cable to the right length.
- Crimping tool: Attaches the metal terminal to the wire securely.
- Multimeter: Tests the connection for proper voltage and continuity.
- Screwdriver: Tightens or loosens connector parts if needed.
Tip: Use tools made for solar connector installation. They give you better results and help prevent mistakes.
Solar Connector Materials Checklist
You also need the right materials to complete your installation. Gather these items before you begin:
| Material | Purpose |
|---|---|
| Solar connectors (MC4) | Connect solar cables together |
| Solar cable (PV Wire) | Carries electricity from your solar panels |
| Metal terminals | Attach to the wire and fit inside connectors |
| Heat shrink tubing | Adds extra protection to the connection |
Check each item off your list before you start. This step makes your solar connector installation smoother and faster.
Solar Connector Installation Steps
Prepare the Cable and Identify Solar Connector Parts
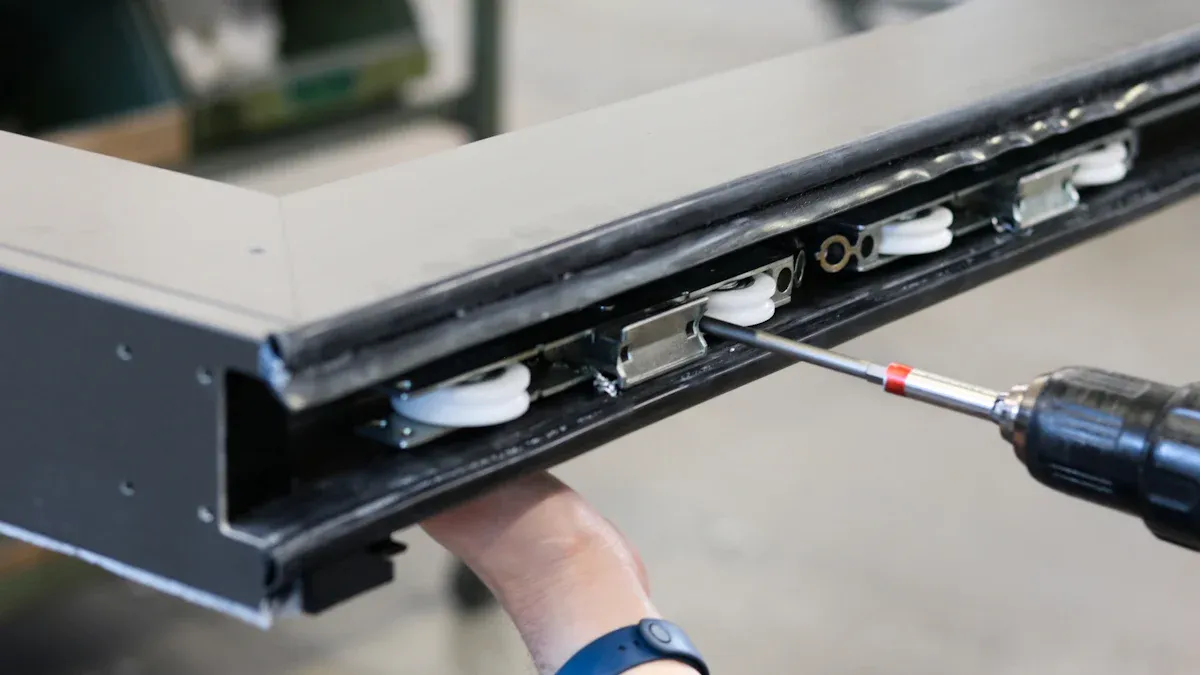
Start by laying out your solar cable and all the parts you need. You will see that each solar connector has several pieces. Usually, you find a main body, a metal terminal, a sealing ring, and a cap. Check that you have all these parts before you begin. Place them on a clean surface so you do not lose anything.
Tip: Keep the small parts in a tray or container. This helps you stay organized and prevents losing any pieces.
Strip the Cable Insulation to the Correct Length
Take your wire stripper and measure the length you need to strip. Most solar connectors require you to remove about 6-7 millimeters of insulation. Place the cable in the wire stripper and gently squeeze. Pull off the insulation to expose the copper wire. Make sure you do not cut or damage the wire strands.
- If you strip too much, the connection may not be secure.
- If you strip too little, the wire may not fit into the terminal.
Check the instructions that come with your solar connector for the exact length.
Crimp the Terminal onto the Wire
Slide the metal terminal onto the exposed copper wire. Use your crimping tool to press the terminal tightly onto the wire. Squeeze the handles until the terminal feels secure. Give the wire a gentle tug to make sure the terminal does not slip off.
Note: A strong crimp keeps your connection safe and helps prevent electrical problems.
Assemble the Solar Connector
Now, take the main body of the solar connector. Slide the sealing ring and cap onto the cable before you insert the terminal. Push the crimped terminal into the connector body until you hear or feel a click. This means the terminal is locked in place. Screw the cap onto the connector body to seal the connection. Make sure the sealing ring sits in the right spot to keep water and dust out.
Test the Connection for Security and Continuity
Use a multimeter to check your work. Set the multimeter to test for continuity. Touch the probes to each end of the cable. If you hear a beep or see a reading, your connection works. Gently pull on the cable and connector to make sure everything feels tight. If the connection is loose, take it apart and try again.
Always test your solar connector before using it in your solar power system.
Repeat for the Opposite Solar Connector
You need to repeat these steps for the other end of the cable. Prepare the cable, strip the insulation, crimp the terminal, assemble the connector, and test the connection. Make sure both ends match and feel secure. This gives you a complete cable with a solar connector on each end, ready for your solar installation.
Secure and Weatherproof Solar Connector Connections
Inspecting the Solar Connector Assembly
You should inspect each solar connector after you finish assembling it. Look at the connection and check for gaps or loose parts. Make sure the sealing ring sits in the right place. If you see any exposed wire, you need to fix it. Use your hands to gently pull on the connector and cable. If anything moves, tighten the cap. You want a strong and weatherproof connection.
Tip: Use a flashlight to check inside the connector. You can spot problems that are hard to see in normal light.
Common Solar Connector Mistakes to Avoid
Many people make mistakes when installing solar connectors. You can avoid these problems if you know what to look for. Here are some common mistakes:
- Stripping too much or too little insulation from the cable
- Not crimping the terminal tightly enough
- Forgetting to use the sealing ring
- Mixing up the male and female connectors
- Not testing the connection with a multimeter
If you avoid these mistakes, your solar connector will last longer and work better.
Safely Disconnecting Solar Connectors
You may need to disconnect a solar connector for maintenance or repairs. Always turn off the power before you start. Press the release tabs on the connector and pull it apart. Do not use force. If the connector feels stuck, check for dirt or damage. Clean the area and try again. You keep your system safe when you follow these steps.
| Step | Action |
|---|---|
| 1 | Turn off power |
| 2 | Press release tabs |
| 3 | Pull connector apart gently |
| 4 | Inspect for dirt or damage |
You completed each step with care and the right tools. To keep your installation secure and weatherproof, inspect connections often.
- Use proper tools for every job
- Check for tight, clean assemblies
Tip: Regular inspection helps your solar system work safely and last longer.
FAQ
How do you know if your solar connector is waterproof?
Check the sealing ring and cap. Make sure they fit tightly. No gaps should show. Test with a gentle spray of water to confirm.
Can you reuse solar connectors after disconnecting them?
You can reuse them if they are not damaged. Inspect for cracks or worn seals. Replace any connector that looks worn or broken.
What size cable works best with most solar connectors?
Most solar connectors fit 10 AWG or 12 AWG solar cables. Always check the connector’s instructions for the correct cable size.