

 Send Email
 Whatsapp


Which solar panel cable is positive?
When working with solar panels, identifying the positive cable is essential. Most solar panel cables use red for positive and black for negative. You might also see a "+" symbol or the label "POS" on the positive wire. For H1Z2Z2-K Solar Cable, visual markers may not always be obvious, so testing tools like a multimeter can help.
Key Takeaways
- Find the positive cable by spotting red color or '+' signs. This prevents mistakes during setup.
- Use a multimeter if you can't see clear labels. This makes sure connections are safe and correct.
- Check polarity again before connecting to avoid damage and improve performance.
Visual Identification of the Positive Cable
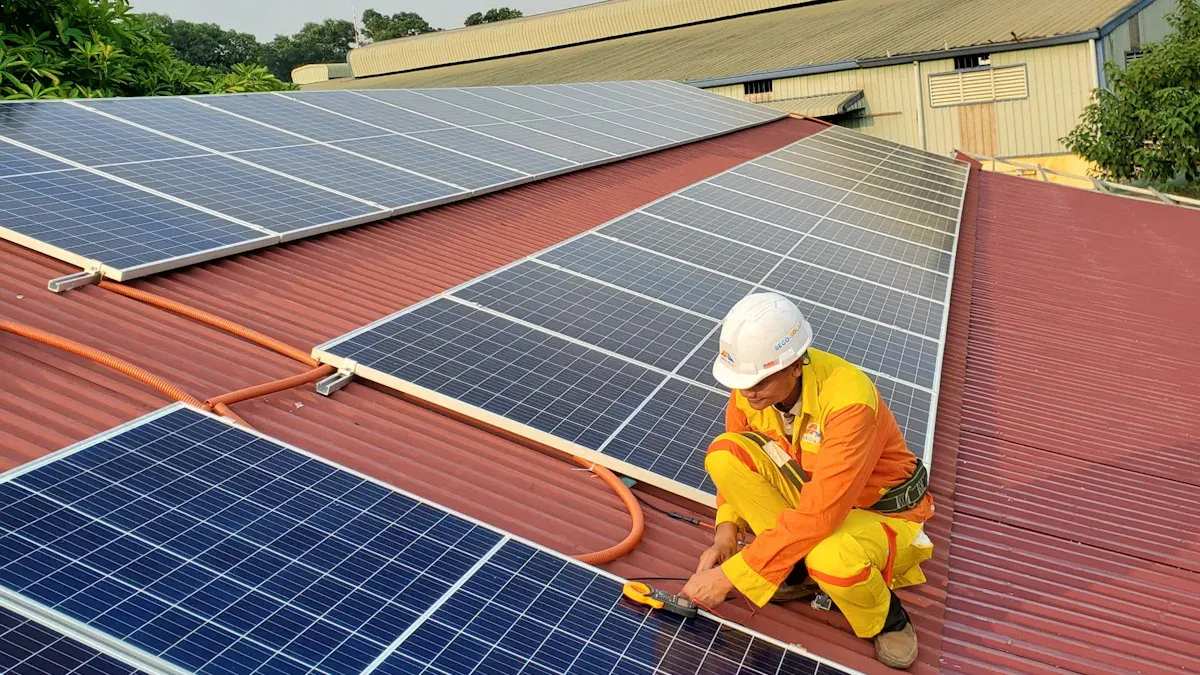
Common color coding: Red for positive, black for negative
Color coding is one of the simplest ways to identify the positive cable on a solar panel. Manufacturers often use red to mark the positive wire and black for the negative wire. This universal standard helps you quickly distinguish between the two cables without needing additional tools.
If you're working with solar panels, always check the color of the wires before making any connections. Red wires indicate the positive terminal, while black wires connect to the negative terminal. This visual cue minimizes confusion and ensures proper installation.
Tip: If the cables are not color-coded, proceed to check for labels or use a multimeter to confirm polarity.
Labels and symbols: "+" or "POS" for positive
In addition to color coding, many solar panel cables include labels or symbols to indicate polarity. Look for a "+" sign or the word "POS" printed on the cable or near the terminal. These markings clearly identify the positive cable and help you avoid mistakes during installation.
Some solar panels may also have arrows pointing toward the positive terminal. These visual indicators are especially useful when working with cables that lack color coding. Always inspect the cables carefully to locate these symbols before proceeding.
Note: If the labels or symbols are faded or missing, use a multimeter to verify the polarity.
Identifying polarity in H1Z2Z2-K solar cables
H1Z2Z2-K solar cables are widely used in solar installations due to their durability and UV resistance. However, these cables often lack visible color coding or markings, making polarity identification more challenging.
To identify the positive cable in H1Z2Z2-K solar cables, start by examining the connectors. Positive connectors may have a "+" symbol or a red marking on the terminal. If no visual indicators are present, use a multimeter to test the polarity.
Follow these steps:
- Set your multimeter to measure DC voltage.
- Connect the probes to the cable terminals.
- Observe the reading. A positive voltage indicates the positive cable.
Safety Reminder: Always wear insulated gloves when handling H1Z2Z2-K solar cables to prevent electrical shocks.
By taking the time to confirm polarity, you ensure the safe and efficient operation of your solar system. Proper identification of H1Z2Z2-K solar cables protects your equipment and prevents costly errors.
Testing Polarity with Tools
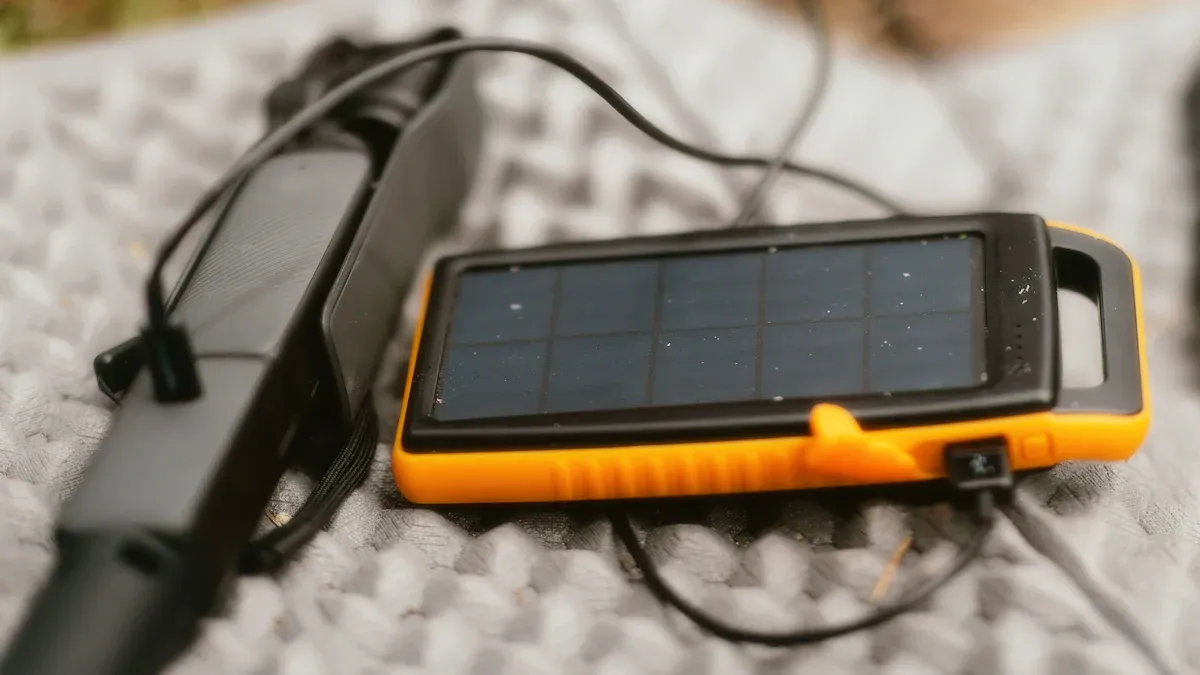
Using a multimeter to confirm polarity
When visual markers like color coding or labels are unclear, a multimeter becomes your best tool for confirming polarity. A multimeter measures electrical properties such as voltage, current, and resistance. To identify the positive cable, you will use the DC voltage setting.
Connect the multimeter probes to the solar panel cables. The red probe connects to one cable, and the black probe connects to the other. If the multimeter shows a positive voltage reading, the cable connected to the red probe is the positive one. A negative reading means the cables are reversed.
Tip: Always ensure the solar panel is exposed to sunlight when testing. Without sunlight, the panel won't generate voltage, and the multimeter won't provide accurate results.
Step-by-step guide to testing with a multimeter
Follow these steps to test polarity with a multimeter:
- Set the multimeter to DC voltage: Turn the dial to the DC voltage setting, usually marked as "V" with a straight line above it.
- Connect the probes: Attach the red probe to one cable and the black probe to the other.
- Check the reading: Look at the multimeter display. A positive number indicates the positive cable is connected to the red probe. A negative number means the cables are reversed.
- Mark the cables: Once you identify the positive cable, mark it with tape or a label for future reference.
Testing polarity is especially important for cables like the H1Z2Z2-K solar cable, which often lack visible markings. This process ensures you connect the cables correctly and avoid damaging your solar system.
Safety precautions when testing solar panel cables
Testing solar panel cables requires caution. Solar panels generate electricity, which can pose risks if handled improperly. Always follow these safety tips:
- Wear insulated gloves: These protect you from accidental shocks.
- Avoid touching exposed wires: Keep your hands away from the metal parts of the cables.
- Work in dry conditions: Moisture increases the risk of electrical accidents.
- Use a properly functioning multimeter: Ensure the device is in good condition and set to the correct mode.
When working with H1Z2Z2-K solar cable, take extra care. These cables are durable but may lack clear polarity markers. Testing with a multimeter helps you avoid mistakes and ensures safe operation.
Reminder: Never test cables while the solar system is connected to other equipment. Disconnect the system to prevent damage or injury.
Common Mistakes and How to Avoid Them
Misinterpreting color codes or labels
One common mistake is assuming all solar panel cables follow standard color codes. While red typically indicates the positive cable and black the negative, some manufacturers may use different colors or omit color coding altogether. This can lead to confusion and incorrect connections.
To avoid this, always inspect the cables for labels or symbols. Look for a "+" sign, "POS," or arrows pointing to the positive terminal. If these markers are unclear or missing, use a multimeter to confirm polarity. Never rely solely on assumptions about color coding.
Tip: When working with cables that lack clear markings, label them yourself after identifying the polarity. This simple step can save time and prevent errors in the future.
Skipping polarity testing with tools
Another mistake is skipping the use of tools like a multimeter to verify polarity. Relying only on visual cues increases the risk of errors, especially with cables that lack clear indicators. Incorrect assumptions can damage your solar system or reduce its efficiency.
Always test the cables with a multimeter before making any connections. Testing ensures you correctly identify the positive and negative cables. It also provides peace of mind, knowing your setup is accurate and safe.
Reminder: Testing polarity takes only a few minutes but can prevent costly mistakes. Make it a standard part of your installation process.
Connecting cables incorrectly and potential consequences
Connecting the cables incorrectly is a serious mistake. Reversing the polarity can damage your solar panel, inverter, or battery. It may also create safety hazards, such as electrical shorts or overheating.
To avoid this, double-check the polarity of each cable before connecting them. Use tools like a multimeter and follow the manufacturer’s instructions. If you’re unsure, consult a professional to ensure proper installation.
Warning: Incorrect connections can void warranties and lead to expensive repairs. Take the time to verify polarity and connect the cables correctly.
Why Correct Polarity Matters
Risks of incorrect connections: Damage to equipment and safety hazards
Connecting solar panel cables with the wrong polarity can lead to serious problems. Reversed connections may damage your inverter, battery, or other components in the system. This damage often results in costly repairs or replacements.
Incorrect polarity also creates safety hazards. It can cause electrical shorts, overheating, or even fires in extreme cases. These risks not only endanger your equipment but also pose a threat to your safety.
Warning: Always double-check the polarity before making any connections. A few extra minutes of caution can save you from expensive mistakes and dangerous situations.
Impact on system efficiency and performance
Proper polarity ensures your solar system operates at its best. When cables are connected correctly, electricity flows smoothly from the solar panels to the rest of the system. This maximizes energy production and keeps your system running efficiently.
Incorrect polarity disrupts this flow. It reduces the amount of energy your system can generate and may even prevent it from working altogether. Over time, this inefficiency can lead to higher energy costs and lower returns on your investment.
Tip: Testing polarity with a multimeter helps you avoid performance issues and keeps your system running at peak efficiency.
Long-term benefits of accurate polarity identification
Identifying the positive cable correctly from the start has long-term advantages. It protects your equipment from damage, ensures consistent performance, and extends the lifespan of your solar system.
Accurate polarity also simplifies future maintenance. When cables are labeled and connected properly, troubleshooting becomes easier. This saves time and reduces the likelihood of errors during repairs or upgrades.
Reminder: Taking the time to confirm polarity now can save you money and effort in the future. A well-maintained system delivers reliable energy for years to come.
Accurately identifying the positive cable ensures your solar system operates safely and efficiently.
- Inspect visually: Look for color coding, labels, or symbols like "+" or "POS."
- Test with tools: Use a multimeter when visual markers are unclear.
Tip: Avoid common mistakes by double-checking polarity before connecting cables. This simple step protects your equipment and maximizes performance.
FAQ
What happens if you connect the cables incorrectly?
Reversed connections can damage your solar panel, inverter, or battery. It may also cause safety hazards like overheating or electrical shorts. Always double-check polarity before connecting.
Can you rely solely on color coding to identify polarity?
No, you shouldn’t rely only on color coding. Some cables lack standard colors. Use a multimeter to confirm polarity when markings or colors are unclear.
Is it safe to test polarity without disconnecting the system?
No, it’s unsafe. Disconnect the solar system before testing. This prevents electrical shocks and protects your equipment from potential damage.
Tip: Always prioritize safety by wearing insulated gloves and working in dry conditions.