

 Send Email
 Whatsapp


How do I choose a solar cable size?

Choosing the right Solar Cable is more important than you might think. It’s not just about connecting components; it’s about ensuring your system runs safely and efficiently. A poorly sized cable can overheat, waste energy, or even damage your setup. By taking the time to get it right, you’ll avoid costly mistakes and keep your system performing at its best.
Key Takeaways
- Picking the right solar cable size is very important. It keeps the system safe and works well.
- Learn about the American Wire Gauge (AWG) system. Thicker wires (with smaller AWG numbers) carry more current and lower resistance.
- Find out the current and allowed voltage drop for your setup. Keep the voltage drop under 3% for good power flow.
Basics of Solar Cable Sizing
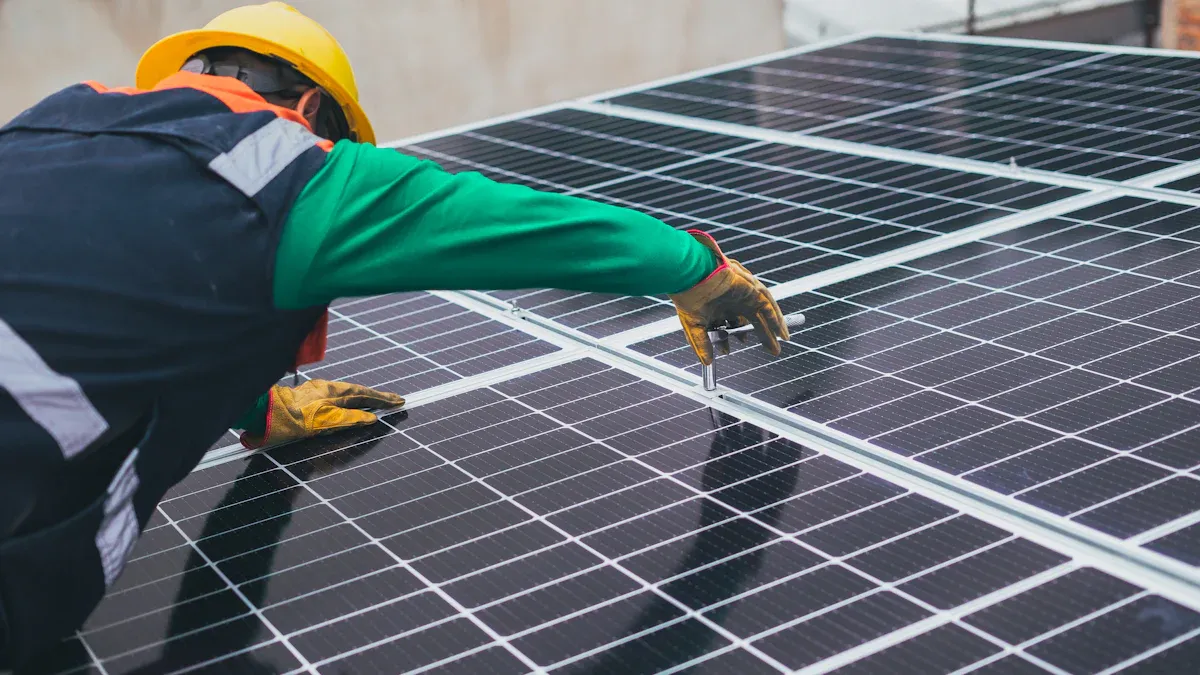
Understanding the American Wire Gauge (AWG) system
When it comes to choosing the right solar cable, you’ll often hear about the American Wire Gauge (AWG) system. But what does it mean? AWG is a standardized system that measures the thickness of a wire. The smaller the AWG number, the thicker the wire. For example, a 10 AWG wire is thicker than a 14 AWG wire. Thicker wires can handle more current and have less resistance, which is crucial for your solar power system.
You’ll want to match the AWG size to your system’s needs. If the wire is too thin, it could overheat or cause energy loss. On the other hand, using a wire that’s too thick might be unnecessary and more expensive. Understanding AWG helps you strike the right balance between safety, efficiency, and cost.
Importance of proper solar cable sizing
Why does solar cable sizing matter so much? It’s simple. The right cable size ensures your system runs safely and efficiently. A cable that’s too small can overheat, leading to potential fire hazards. It can also cause voltage drops, which reduce the amount of power your system delivers.
Proper sizing also extends the lifespan of your equipment. When cables are sized correctly, they minimize energy loss and prevent unnecessary strain on your components. This means fewer repairs and replacements for you in the long run.
Tip: Always double-check your calculations and consult an expert if you’re unsure about the cable size.
Key factors: Voltage drop, ampacity, and system requirements
Three main factors influence your choice of solar cable size: voltage drop, ampacity, and system requirements.
- Voltage drop: This happens when electricity travels through a wire and loses some of its power. Keeping voltage drop below 3% is ideal for most solar systems.
- Ampacity: This refers to the maximum amount of current a wire can safely carry. Choose a cable that can handle the highest current in your system.
- System requirements: Consider the distance between components, the type of solar panels, and the overall power output of your system. These details help you pick the right cable size.
By focusing on these factors, you’ll ensure your solar power system operates smoothly and efficiently.
Step-by-Step Guide to Choosing the Right Solar Cable
Step 1: Calculate the current (amps) in your system
The first step is figuring out how much current flows through your system. You can calculate this by dividing the total wattage of your solar panels by the system voltage. For example, if your panels produce 1,000 watts and your system runs at 24 volts, the current is 1,000 ÷ 24 = 41.67 amps. Knowing this number helps you choose a cable that can handle the load safely.
Tip: Always account for the maximum current your system might experience, not just the average.
Step 2: Determine the acceptable voltage drop
Voltage drop is the power lost as electricity travels through the wire. Keeping this loss under 3% is ideal for most systems. To calculate the acceptable voltage drop, multiply your system voltage by 0.03. For instance, in a 24-volt system, the acceptable drop is 24 × 0.03 = 0.72 volts. This ensures your solar cable delivers power efficiently.
Step 3: Use the Voltage Drop Index (VDI) formula
The VDI formula helps you determine the right cable size. It looks like this:VDI = (Amps × Distance × 2) ÷ Voltage Drop
Here, "Distance" is the one-way length of the cable in feet. Plug in your numbers to find the VDI, which you’ll use in the next step.
Step 4: Select the appropriate wire size using an AWG chart
Once you have the VDI, refer to an AWG chart to find the correct wire size. Match your VDI to the chart’s recommendations. For example, if your VDI is 10, the chart might suggest a 10 AWG wire. This ensures your solar cable can handle the current without overheating or losing power.
Note: Always double-check your calculations and consult an expert if needed.
Solar Cable Considerations for Different System Components
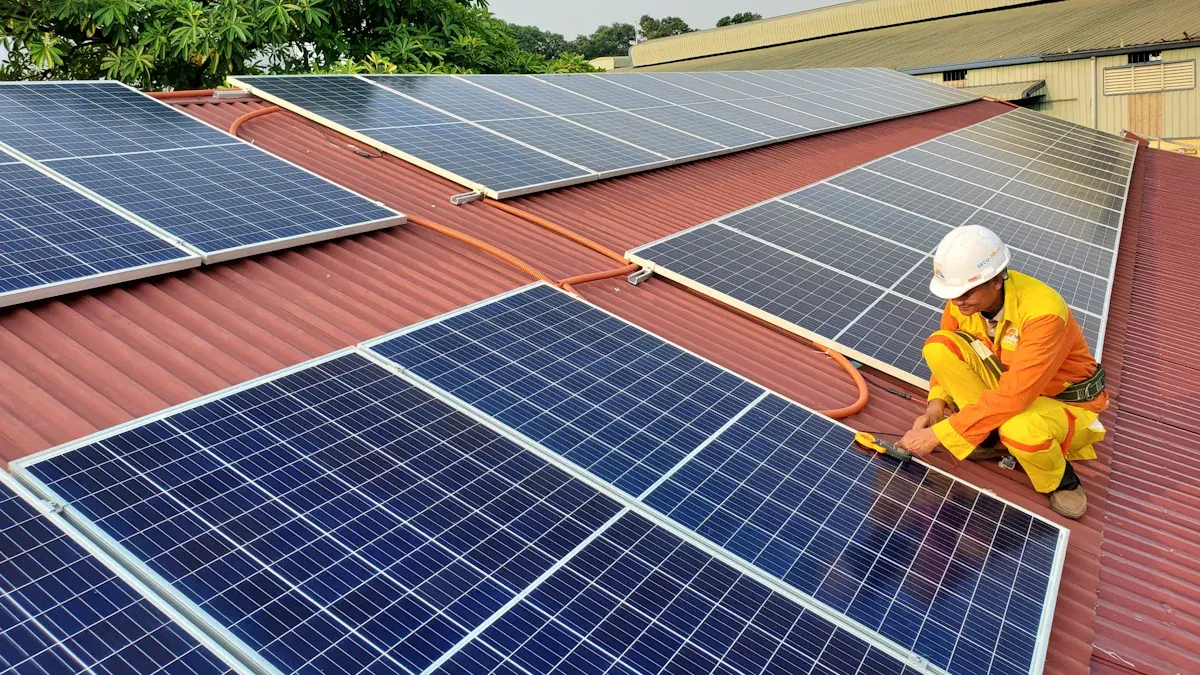
Solar panels to charge controller
The cable connecting your solar panels to the charge controller plays a critical role in your system. This cable carries the electricity generated by your panels, so it must handle the current safely. You’ll want to choose a solar cable that minimizes voltage drop, especially if the panels are far from the controller. A thicker wire (lower AWG number) is often better for longer distances.
Also, check the ampacity of the cable. It should exceed the maximum current your panels can produce. For example, if your panels generate 30 amps, pick a cable rated for at least 40 amps to provide a safety margin. This ensures your system runs efficiently without overheating.
Charge controller to battery bank
The connection between the charge controller and the battery bank is just as important. This cable transfers the regulated power from the controller to your batteries. Since this part of the system often handles high currents, you’ll need a cable with a high ampacity rating.
Keep the cable length as short as possible. Shorter cables reduce resistance and improve efficiency. If the distance is unavoidable, use a thicker cable to compensate for potential voltage drop. Always double-check the specifications of your charge controller and batteries to ensure compatibility.
Inverter to grid or load
The cable from your inverter to the grid or load carries the final output of your solar power system. This cable must handle the full power output of your inverter. For instance, if your inverter outputs 3,000 watts at 120 volts, the current will be 25 amps (3,000 ÷ 120). Choose a cable that can handle this current safely.
For grid-tied systems, follow local electrical codes to ensure compliance. If you’re powering appliances directly, consider the total load and use a cable that matches the demand. Proper sizing here prevents energy loss and keeps your system running smoothly.
Proper solar cable sizing keeps your system safe and efficient. Follow the steps to calculate voltage drop and pick the right wire size. Don’t forget to check the needs of each component.
Remember: A well-sized cable saves energy, prevents overheating, and ensures your solar setup runs smoothly for years to come. 🌞
FAQ
What happens if I choose the wrong solar cable size?
Using the wrong size can cause overheating, energy loss, or even system failure. Always calculate carefully and consult an expert if you're unsure. 🔧
How do I measure the distance for cable sizing?
Measure the one-way distance between components, then double it for the total length. This ensures you account for the full circuit path.
Can I use regular electrical cables for my solar system?
No, solar cables are designed to handle outdoor conditions, UV exposure, and higher temperatures. Regular cables may degrade quickly and compromise your system's safety.
Tip: Always choose cables rated specifically for solar applications to ensure durability and efficiency. 🌞