

 Send Email
 Whatsapp


Aluminum Alloy Cables for Rooftop PV Systems: Installation Guide
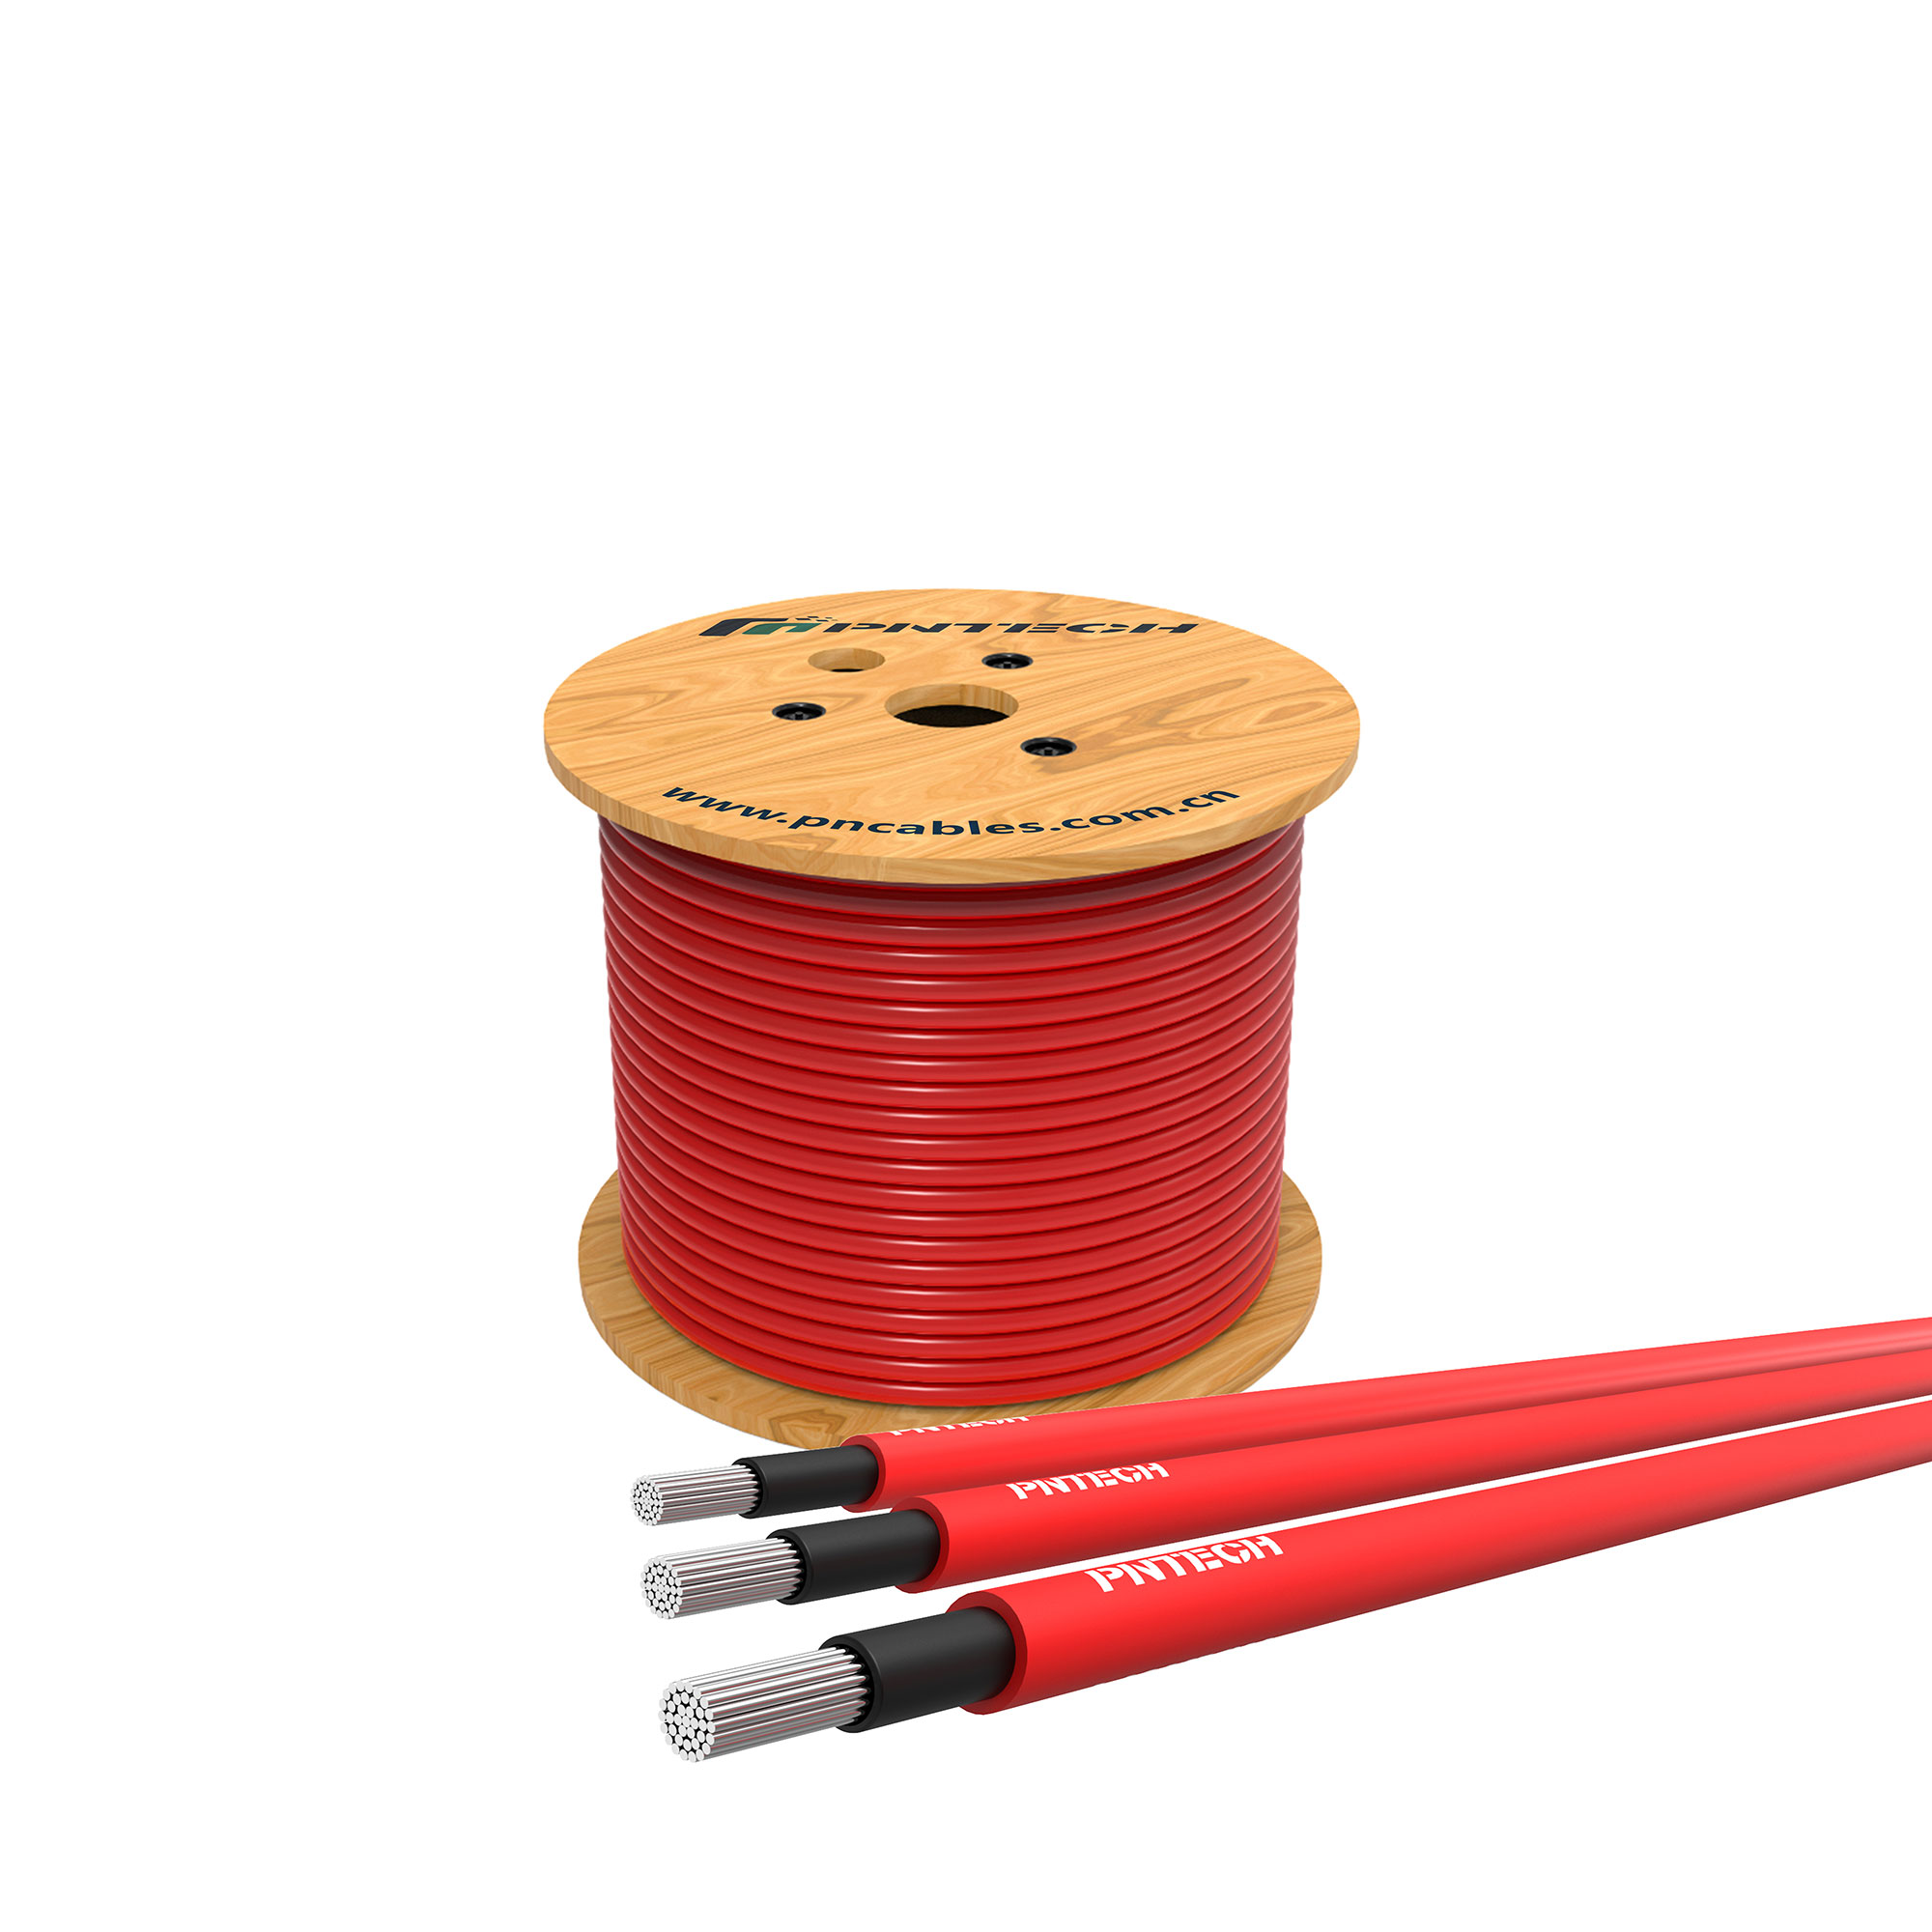
Aluminum alloy rooftop Solar Cables offer a strong choice for rooftop PV systems. They are lighter and cost-effective compared to traditional copper cables. Additionally, these cables resist corrosion, enhancing their longevity. Proper installation of rooftop solar cables is crucial to ensure optimal performance and safety in your solar energy system.
Key Takeaways
- Aluminum alloy cables are lightweight and cost-effective, making them easier to handle during installation and reducing overall project costs.
- These cables resist corrosion, ensuring durability and longevity in outdoor conditions, which is crucial for rooftop solar systems.
- Proper planning and installation are key to maximizing the performance of your solar system. Always check connections and monitor system performance after installation.
Understanding Aluminum Alloy Cables
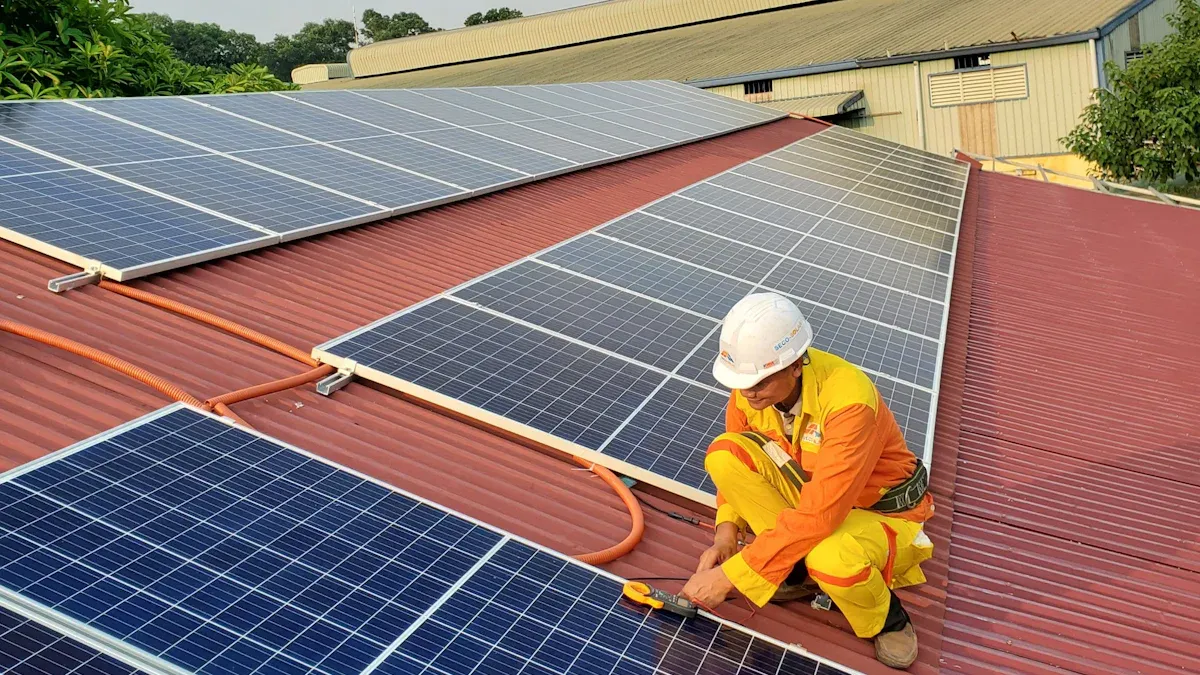
Aluminum alloy cables are a popular choice for rooftop solar applications. These cables consist of aluminum mixed with other metals. This combination enhances their strength and conductivity. You will find that aluminum alloy cables are lighter than copper cables. This feature makes them easier to handle during installation.
Composition of Aluminum Alloy Cables
Aluminum alloy cables typically contain a mix of aluminum and small amounts of other metals. Common additives include magnesium and silicon. These metals improve the cable's mechanical properties. The result is a cable that is both strong and flexible.
Key Characteristics
Here are some important characteristics of aluminum alloy cables:
- Lightweight: Aluminum alloy cables weigh significantly less than copper cables. This reduces the load on your rooftop structure.
- Corrosion Resistance: Aluminum naturally forms a protective oxide layer. This layer helps prevent corrosion, making these cables suitable for outdoor use.
- Cost-Effective: Aluminum alloy cables are generally less expensive than copper cables. This can lead to lower overall installation costs for your rooftop solar system.
Applications in Rooftop Solar Systems
You can use aluminum alloy cables in various parts of your rooftop solar system. They are ideal for connecting solar panels to inverters and for wiring between components. Their lightweight nature allows for easier routing and installation on rooftops.
When selecting cables for your rooftop solar system, consider the following:
- Voltage Rating: Ensure the cables can handle the voltage produced by your solar panels.
- Temperature Rating: Choose cables that can withstand the temperature extremes typical of rooftop installations.
- Length: Measure the distance between components to determine the appropriate cable length.
By understanding these aspects, you can make informed decisions about using aluminum alloy cables in your rooftop solar system.
Benefits of Aluminum Alloy Cables for Rooftop Solar Cable Applications

Aluminum alloy cables offer several advantages for your rooftop solar cable needs. Understanding these benefits can help you make informed decisions for your solar installation.
-
Enhanced Conductivity: Aluminum alloy cables provide excellent electrical conductivity. This feature ensures that your solar panels transfer energy efficiently to the inverter. You can expect minimal energy loss during this process.
-
Weight Savings: The lightweight nature of aluminum alloy cables makes installation easier. You can handle these cables without straining yourself or risking damage to your rooftop. This advantage can speed up the installation process and reduce labor costs.
-
Durability: Aluminum alloy cables resist corrosion better than traditional copper cables. This resistance is crucial for rooftop installations, where exposure to the elements is constant. You can trust that these cables will last longer, reducing the need for replacements.
-
Cost Efficiency: Choosing aluminum alloy cables can save you money. They are generally less expensive than copper cables. This cost-effectiveness can lower your overall project budget, allowing you to invest in other important components of your solar system.
-
Flexibility: The flexibility of aluminum alloy cables allows for easier routing around obstacles on your rooftop. You can bend and shape these cables without compromising their integrity. This adaptability can simplify your installation process.
-
Environmental Impact: Aluminum is a recyclable material. By choosing aluminum alloy cables, you contribute to sustainability efforts. This choice aligns with the eco-friendly goals of solar energy systems.
Pre-Installation Planning
Before you start installing aluminum alloy cables for your rooftop solar system, proper planning is essential. This step ensures a smooth installation process and optimal performance of your system. Here are some key points to consider:
-
Assess Your Rooftop: Check the condition of your rooftop. Ensure it can support the weight of the solar panels and cables. Look for any potential hazards, such as loose shingles or structural issues.
-
Determine Cable Length: Measure the distance between your solar panels and the inverter. This measurement helps you choose the right length of rooftop solar cable. Avoid excess cable to minimize energy loss.
-
Select the Right Type of Cable: Choose aluminum alloy cables that meet the voltage and temperature ratings for your system. Ensure they are suitable for outdoor use to withstand environmental conditions.
-
Gather Necessary Tools: Collect all tools and materials needed for installation. This list may include wire cutters, crimping tools, and connectors. Having everything ready will save you time during installation.
-
Review Local Codes: Familiarize yourself with local building codes and regulations. Compliance with these rules is crucial for safety and may affect your installation process.
Tip: Create a checklist of all the steps and materials needed. This checklist will help you stay organized and ensure you don’t miss any important details.
By following these pre-installation planning steps, you set the stage for a successful installation of your rooftop solar system.
Installation Procedures
Installing aluminum alloy cables for your rooftop solar system requires careful attention to detail. Follow these steps to ensure a successful installation:
-
Prepare Your Workspace: Clear the area where you will work. Remove any debris or obstacles that could hinder your installation.
-
Lay Out the Cables: Unroll the aluminum alloy cables and lay them out along the planned route. This step helps you visualize the installation and identify any potential issues.
-
Connect the Cables: Use appropriate connectors to join the cables to the solar panels and inverter. Ensure that you follow the manufacturer's instructions for proper connections.
-
Secure the Cables: Use cable ties or clips to secure the cables along the rooftop. This action prevents movement and protects the cables from damage.
-
Test the Connections: After securing everything, test the connections. Use a multimeter to check for continuity and ensure that the cables are functioning correctly.
-
Seal Any Openings: If you drilled holes for cable entry, seal them with weatherproof sealant. This step prevents water intrusion and protects your system.
Tip: Always wear safety gear during installation. This gear includes gloves and safety glasses to protect yourself from potential hazards.
By following these installation procedures, you can ensure that your rooftop solar cable system operates efficiently and safely.
Post-Installation Checks
After completing the installation of your aluminum alloy cables, you must perform several checks. These checks ensure that your rooftop solar system operates efficiently and safely. Follow these steps:
-
Inspect Connections: Examine all connections between the cables, solar panels, and inverter. Ensure they are secure and free from corrosion. Loose connections can lead to energy loss.
-
Check Cable Routing: Verify that the cables follow the planned route. Ensure they do not cross over sharp edges or hot surfaces. Proper routing prevents damage and overheating.
-
Test Electrical Continuity: Use a multimeter to test for continuity in the cables. This step confirms that electricity flows correctly through the system. If you find any breaks, recheck your connections.
-
Monitor Performance: After installation, monitor the system's performance for a few days. Check the energy output to ensure it meets your expectations. If you notice any discrepancies, investigate further.
-
Document Your Work: Keep a record of your installation process and any checks performed. This documentation can help you troubleshoot issues in the future.
Tip: Schedule regular maintenance checks. Regular inspections can help you catch potential problems early and extend the life of your solar system.
By following these post-installation checks, you can ensure that your rooftop solar system operates at its best. Taking these steps helps you maximize your investment in solar energy.
Aluminum alloy cables offer many benefits for your rooftop solar system. They are lightweight, cost-effective, and durable. Following installation guidelines ensures optimal performance. Always prioritize safety and compliance with local regulations. This approach protects your investment and enhances the longevity of your solar system. sun
FAQ
What are aluminum alloy cables used for in solar systems?
Aluminum alloy cables connect solar panels to inverters and other components, ensuring efficient energy transfer.
How do I maintain aluminum alloy cables?
Regularly inspect connections and cable routing. Keep cables clear of debris and monitor for signs of wear.
Are aluminum alloy cables safe for rooftop installations?
Yes, aluminum alloy cables are safe when installed correctly. They resist corrosion and handle outdoor conditions well.