

 Send Email
 Whatsapp


Aluminum Alloy Cables for Rooftop PV Systems: Installation Guide
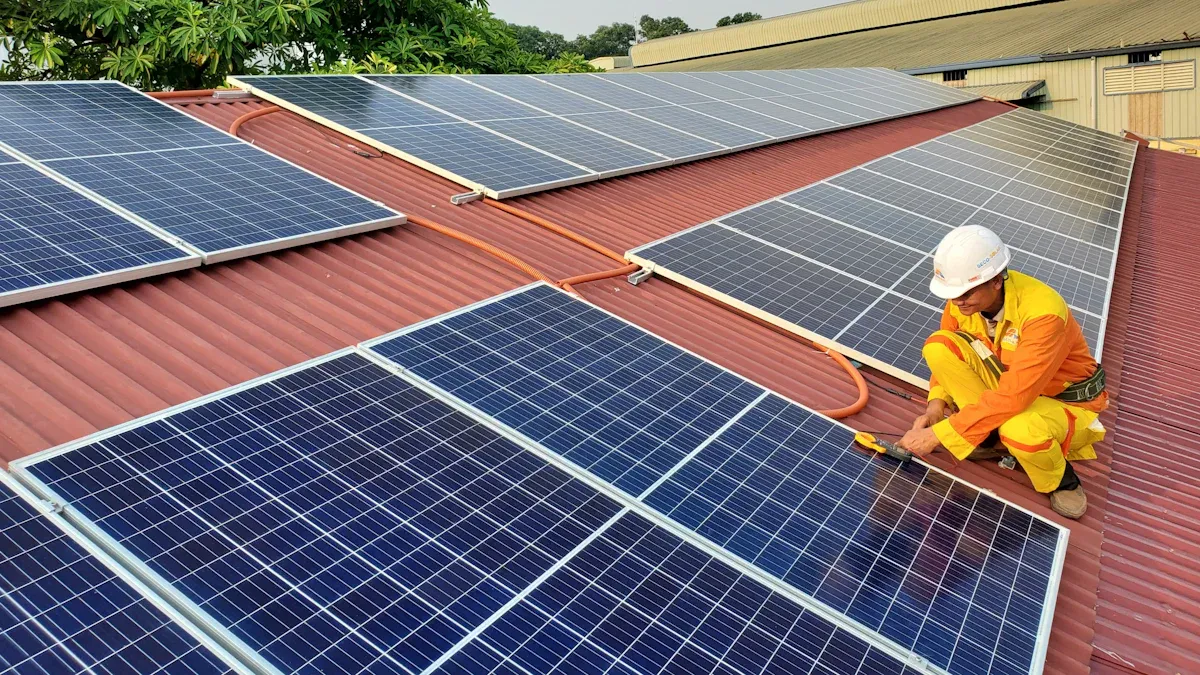
Proper installation of aluminum alloy cables ensures the safety, efficiency, and longevity of rooftop PV systems. You must follow specific installation guidelines. This guarantees reliable and compliant solar energy generation. This guide gives you essential steps and best practices. You will successfully deploy your rooftop Solar Cable system.
Key Takeaways
- Proper installation of aluminum alloy cables is important. It makes your rooftop solar system safe and efficient.
- Always use the right tools and connectors for aluminum cables. This includes special crimpers and anti-oxidant compound.
- Follow all safety rules and electrical codes. This protects your system and keeps everyone safe.
Understanding Aluminum Alloy Cables for Rooftop PV

Advantages for Solar Installations
Aluminum alloy cables offer several benefits for your solar projects. They are lighter than copper cables. This makes them easier to transport and install on rooftops. You will find them more cost-effective. This helps reduce overall project expenses. Aluminum alloy cables also resist corrosion well. This is important for outdoor use in various weather conditions. Their flexibility helps with routing through complex system layouts.
Key Considerations for Performance
You must understand specific factors for optimal performance. Aluminum alloy expands and contracts more with temperature changes than copper. You need to account for this thermal expansion during installation. Proper termination is crucial. Use connectors designed specifically for aluminum. This prevents loose connections and overheating. Ensure you handle the cables carefully. Avoid sharp bends or nicks. Damage can affect conductivity and safety.
Code Compliance and Standards
You must follow all relevant electrical codes and standards. These regulations ensure the safety and reliability of your rooftop solar cable system. Check local building codes. Also, consult national electrical codes like the NEC (National Electrical Code) in the United States. These codes specify requirements for cable sizing, insulation, and installation methods. Adhering to these standards protects your investment. It also ensures your system operates safely for many years.
Pre-Installation Planning for Rooftop Solar Cable Systems
Cable Sizing and Selection
You must correctly size your cables. This ensures your PV system works safely and efficiently. It also prevents power loss. Many factors affect cable size. Consider the amount of current the cable carries. Think about the distance the power travels. High temperatures can also affect cable performance. You must limit voltage drop. Voltage drop means you lose power over distance. Use specific tables or calculators for aluminum alloy cables. These tools help you choose the right size. They account for the unique properties of aluminum. Always select cables with insulation suitable for outdoor PV use. This insulation protects against UV rays and weather.
Essential Tools and Equipment
Gather all your tools before you start. You will need tools for cutting and stripping cables. You also need tools for making connections. Use crimpers designed for aluminum alloy terminals. An anti-oxidant compound is also necessary. This compound prevents corrosion at connection points. You will need a torque wrench. This tool ensures connections are tight enough. It prevents overtightening. Safety equipment is also vital. This includes ladders, scaffolding, and fall protection gear. A multimeter helps you check electrical readings. A cable puller can make routing easier.
Site Assessment and Environmental Factors
Before any work, you must check the rooftop. Look at the roof type. Is it flat or sloped? Check the roof's strength. Can it hold the weight of the solar system and cables? Identify any areas that might cause shade. Shading reduces system output. Plan the best path for your cables. This path should be direct but also protected. Consider environmental factors. Extreme heat or cold affects cable performance. Strong winds can damage cables if not secured. Moisture and UV light also impact cable life. Choose conduits and cable management systems that protect against these elements. This ensures your rooftop solar cable lasts a long time.
Safety Protocols and Personal Protective Equipment
Safety is your top priority. Always wear personal protective equipment (PPE). This includes safety glasses, gloves, and a hard hat. When working at heights, use fall protection. This means a safety harness and lifeline. Before touching any wires, make sure the power is off. Use lockout/tagout procedures. This prevents accidental power-up. Always test circuits with a multimeter before working on them. Know your emergency procedures. Have a first-aid kit nearby. Proper training helps you avoid accidents. Never take shortcuts with safety.
Installation Procedures for Aluminum Alloy Rooftop Solar Cable
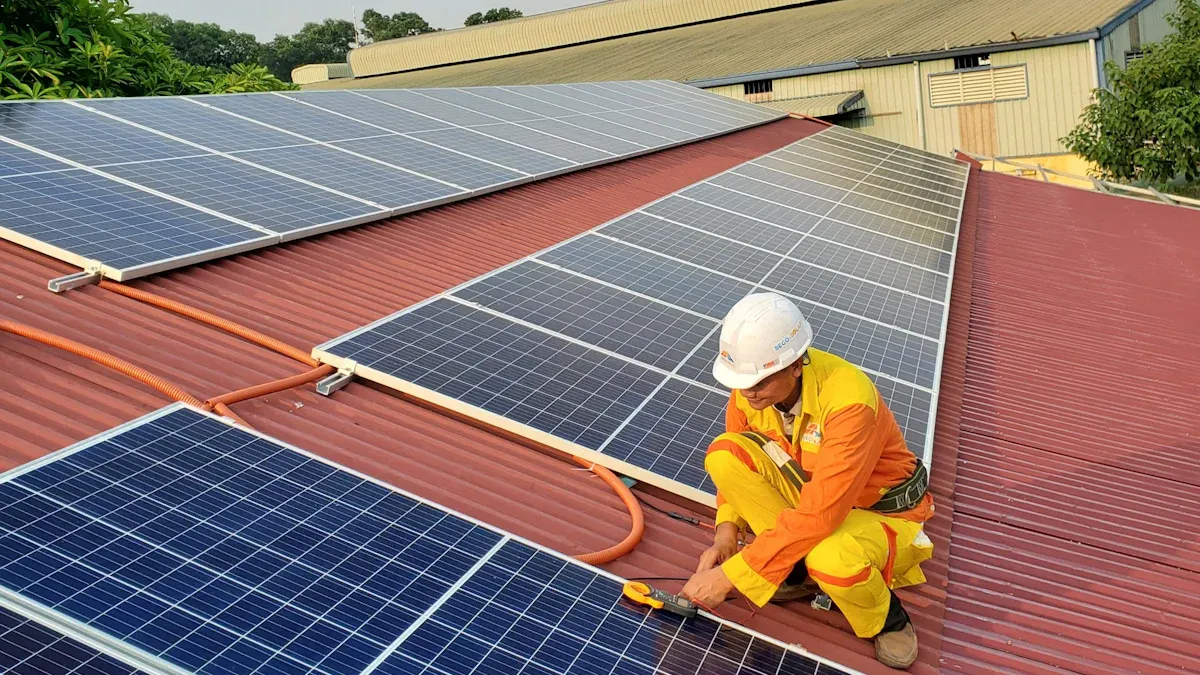
Cable Pulling Techniques
You must pull aluminum alloy cables with care. Avoid sharp bends. These bends can damage the cable's internal structure. Use proper cable lubricants. Lubricants reduce friction. This makes pulling easier. It also prevents insulation damage. Always use appropriate pulling equipment. Do not exceed the cable's maximum pulling tension. You can find this information in the manufacturer's specifications. Pull cables smoothly and steadily. Avoid sudden jerks. This protects the cable and ensures a safe installation.
Proper Termination Practices

Correct termination is vital for aluminum alloy cables. You must use connectors specifically rated for aluminum. Look for "AL9CU" or "AL7CU" markings. These connectors handle aluminum's unique properties. Clean the cable conductor thoroughly. Then, apply an anti-oxidant compound. This compound prevents corrosion. Corrosion can increase resistance. It can also cause overheating. Insert the cable fully into the connector. Use a torque wrench to tighten the connection. Follow the manufacturer's specified torque values. Overtightening or undertightening can cause problems. A secure connection ensures safety and efficiency.
Splicing and Connection Best Practices
Avoid splicing aluminum alloy cables whenever possible. Direct runs are always best. If you must splice, use approved splicing methods. Use connectors designed for aluminum-to-aluminum or aluminum-to-copper connections. These connectors often use a crimp method. Ensure you use the correct crimping tool. Apply anti-oxidant compound to all contact surfaces. Crimp the connector according to manufacturer instructions. Verify the connection is secure. Improper splices can create hot spots. They can also lead to system failures. Always prioritize safety and reliability.

Conduit and Cable Management
Protect your aluminum alloy cables from the elements. Use appropriate conduit. The conduit must be UV-resistant. It must also withstand outdoor conditions. Secure the conduit firmly to the roof structure. Use proper supports and straps. This prevents movement and damage. Allow for thermal expansion and contraction of the cables inside the conduit. Do not overfill conduits. Overfilling can cause heat buildup. It also makes future maintenance difficult. Organize your cables neatly. Label them clearly. Good cable management improves system aesthetics. It also simplifies troubleshooting. This protects your rooftop solar cable for years.
Grounding and Bonding Requirements
Proper grounding and bonding protect your PV system. They ensure safety. Ground all metallic components of your solar array. This includes modules, racks, and conduits. Use grounding conductors suitable for the application. Connect them to the main grounding electrode system. Ensure all connections are tight and secure. Use approved grounding lugs and clamps. Apply anti-oxidant compound to aluminum grounding connections. Follow all local and national electrical codes. The National Electrical Code (NEC) provides specific guidelines. Proper grounding prevents electrical shock. It also protects equipment from lightning strikes.
Post-Installation Checks and Maintenance for Rooftop Solar Cable

Visual Inspection and Verification
After installation, you must perform a thorough visual inspection. Look for any signs of physical damage to the cables. Check for nicks, cuts, or abrasions on the insulation. Ensure all connectors are fully seated and secure. Verify that anti-oxidant compound is visible at aluminum connections. Confirm all conduits and cable trays are properly secured. Make sure no cables are hanging loose. Check for proper labeling on all circuits. This step helps you catch potential issues early.
Electrical Testing and Performance Checks
You need to conduct electrical tests to confirm system integrity. Use a multimeter to check voltage and current readings. Verify that all circuits show correct polarity. Perform insulation resistance tests on the cables. This ensures the insulation is intact. Compare your readings with expected values. This confirms the system operates as designed. You can also check the overall performance of your rooftop solar cable system. This ensures it meets efficiency standards.
Long-Term Maintenance and Monitoring
Regular maintenance extends the life of your PV system. Schedule periodic visual inspections. Look for any new damage or wear. Clean modules regularly to maintain efficiency. Monitor system performance through your inverter or monitoring platform. Look for any drops in power output. Address any issues promptly. This proactive approach ensures your aluminum alloy cables perform reliably for many years.
You must follow proper installation guidelines. This is very important for aluminum alloy cables in your PV system. Correct installation makes your system safe and efficient. It also ensures long-term reliability. When you follow these practices, you get the most benefits from using aluminum alloy conductors.
FAQ
Why should I choose aluminum alloy cables for my solar system?
You choose them because they are lighter and cost less than copper. They also resist corrosion well. This makes installation easier and saves money.
What is crucial for connecting aluminum alloy cables?
You must use connectors made for aluminum. Apply anti-oxidant compound. Tighten connections with a torque wrench to the correct value. This prevents problems.
Can I use regular tools for aluminum alloy cables?
You need specific tools. Use crimpers designed for aluminum terminals. A torque wrench is also essential. This ensures safe and proper connections.